There are few pieces that I covet for my home for long. Many of them come and go, and seem to be a passing trend. Codor Design‘s stunning mirrors, however, are not one of those pieces. I’ve wanted this oversized nautical gem since the first time I saw it (years ago now). And if its designer, Tamara Codor dropped it at my door, I would happily accept it into my home.
Unfortunately, this dream scenario isn’t likely to happen anytime soon. So, what’s a girl to do? Well, attempt to make her own version of course…
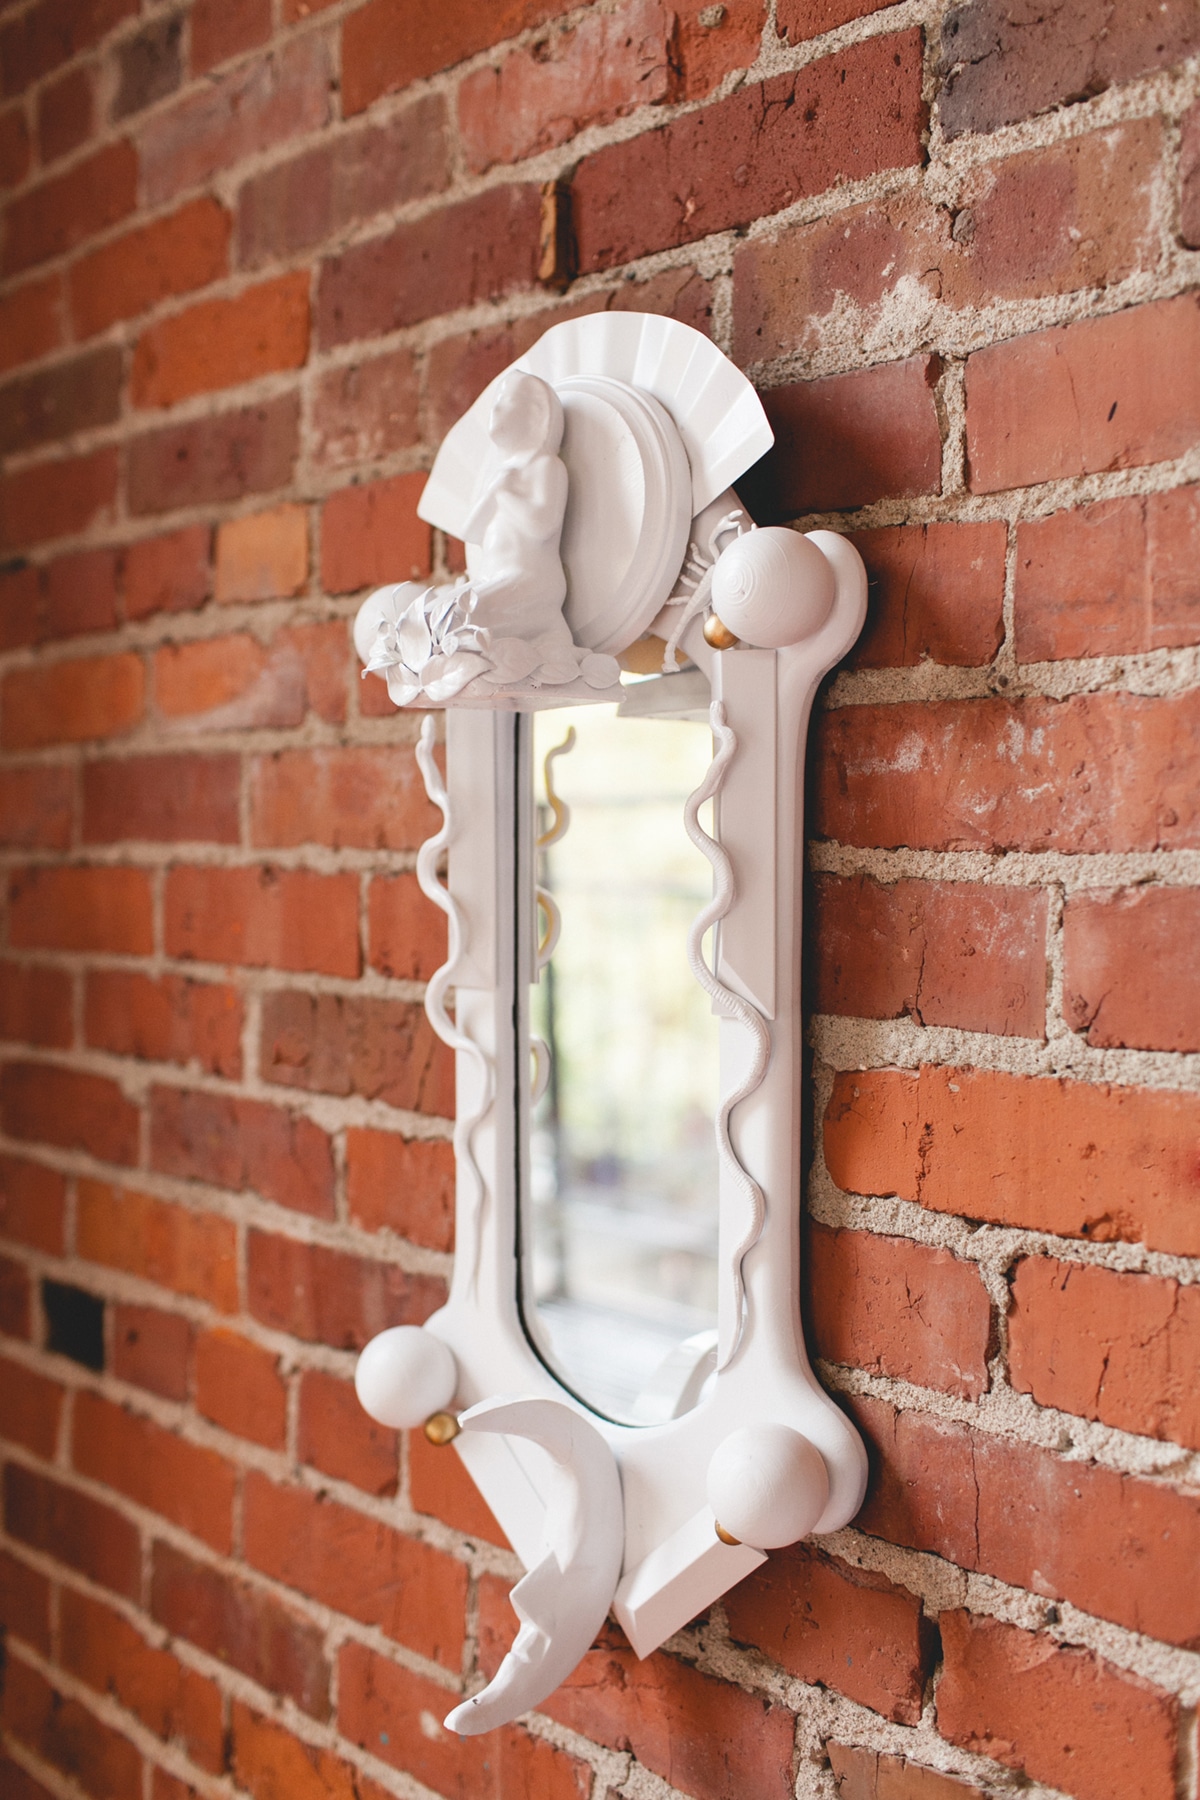
This is one project I’ve been wanting to do for some time now, actually. But the challenge of finding all the pieces and putting it together seemed a bit daunting. Codor creates their pieces over time, using much more artistic techniques, their own molds, and quality objects. The result is a mirror that looks like it’s all one smooth piece, and the finish is stunning. We wanted to make ours more of a weekend project.
Enter method. A company I’ve loved for many years as well, and – unlike these mirrors – they have dropped packages at my door many times. This time, the package came with a challenge: Fear No Mess. A battle cry to take up arms (or spray paint) and get down to some messy business. I threw on my treasure hunting shoes, and headed out to the thrift store to tackle this DIY!
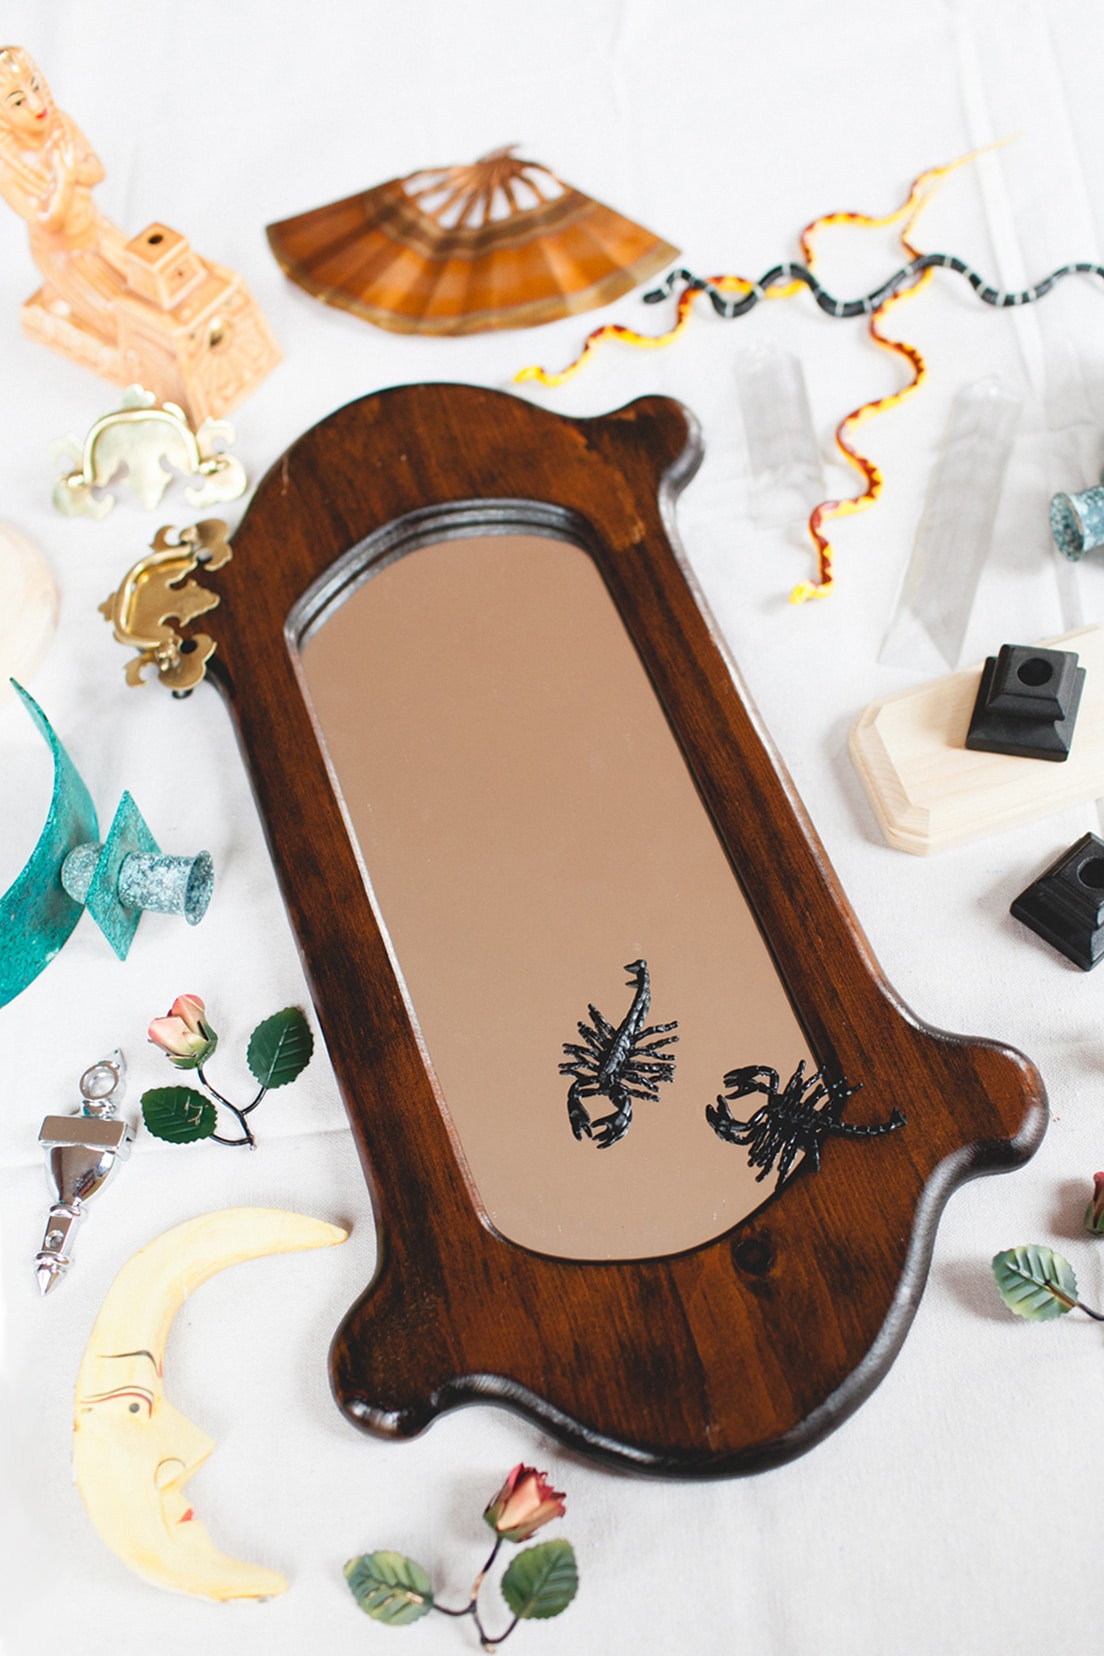
Since method’s products are biodegradable, made from recycled materials and 100% recyclable – I figured it was only appropriate to tackle a DIY that was also ‘recycled’. After spending an hour in the aisles of local thrift and vintage stores, I came away with lots of random items. My favorite finds were the wood moon (torn off an old bookend) and the Egyptian incense holder which would – regrettably – have to be broken to fit on the mirror. I selected a smaller mirror with enough surface to glue items to.
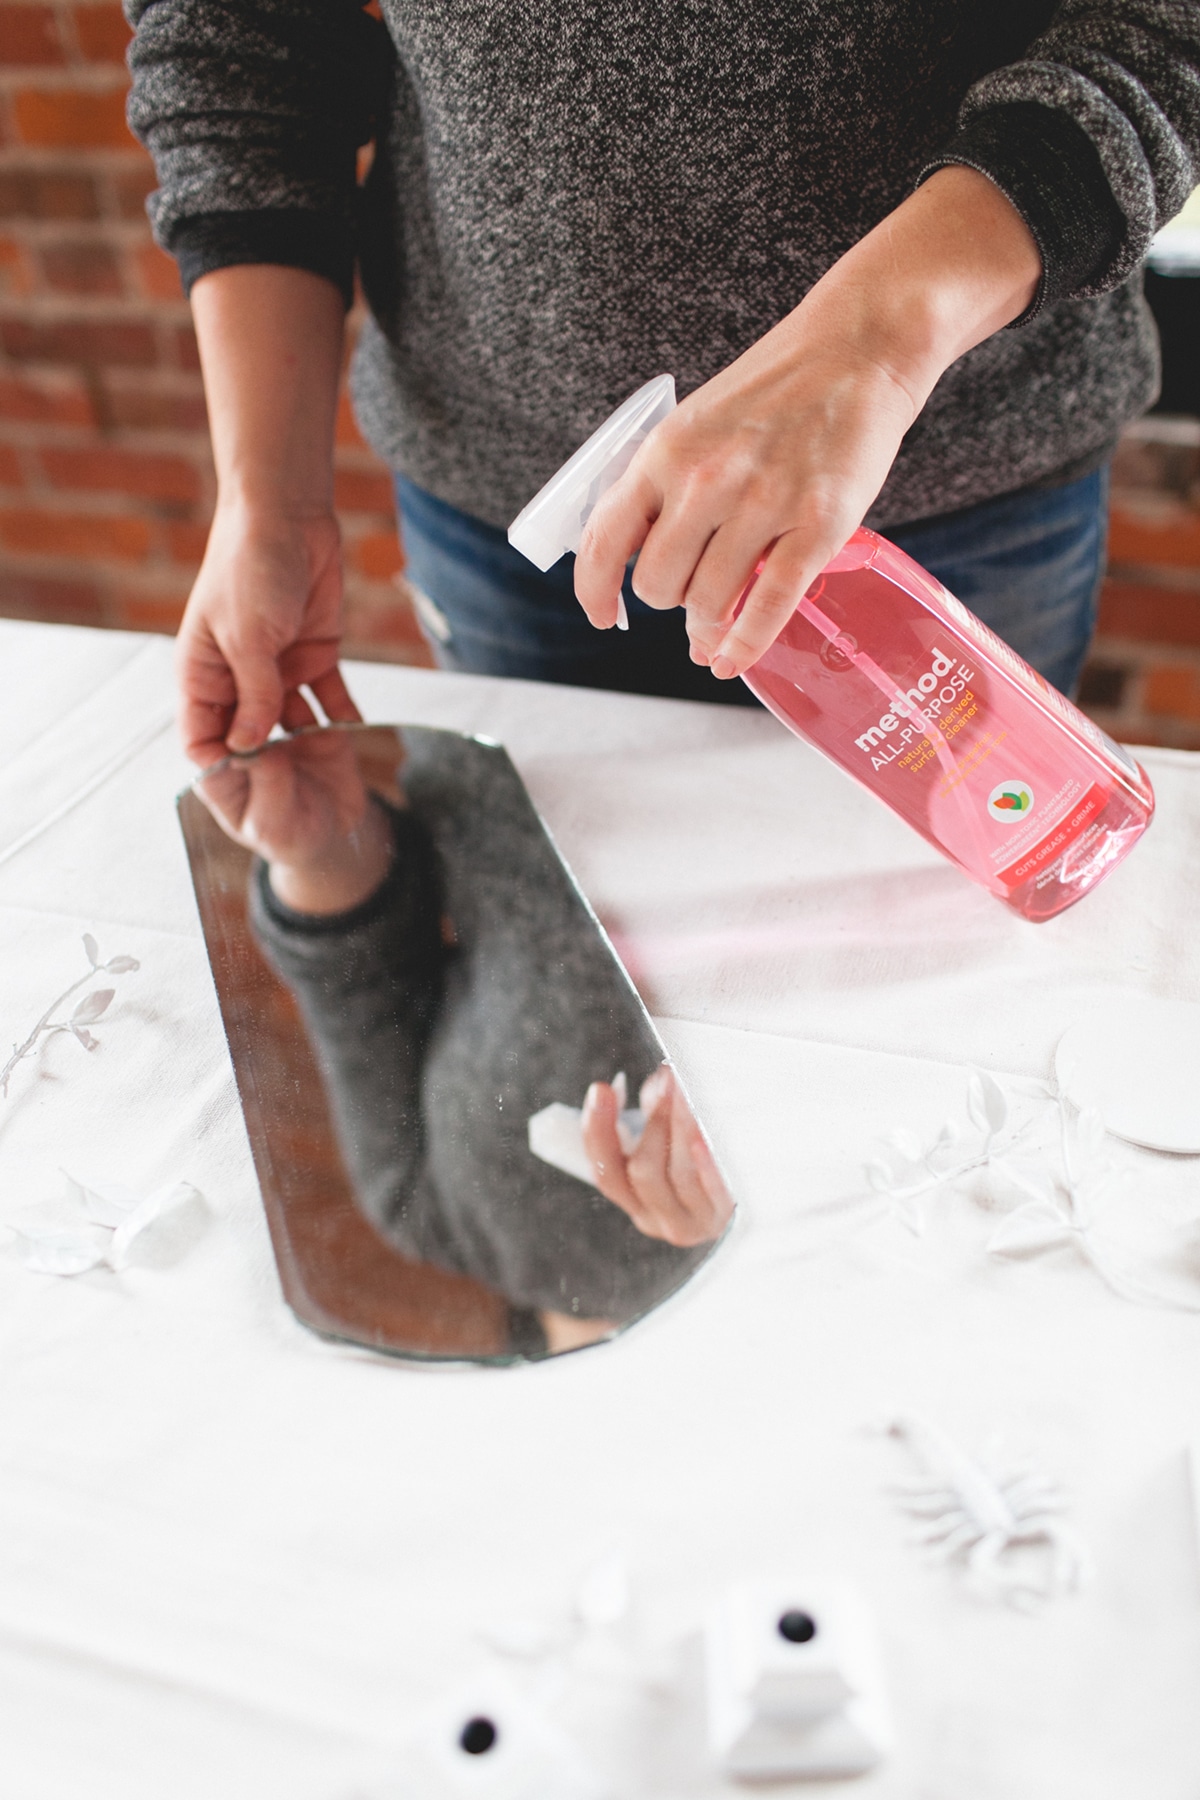
Then I set to putting my method to good use – wiping down every dusty purchase with a little all-purpose cleaner (replacing that lovely thrift store smell with grapefruit!).
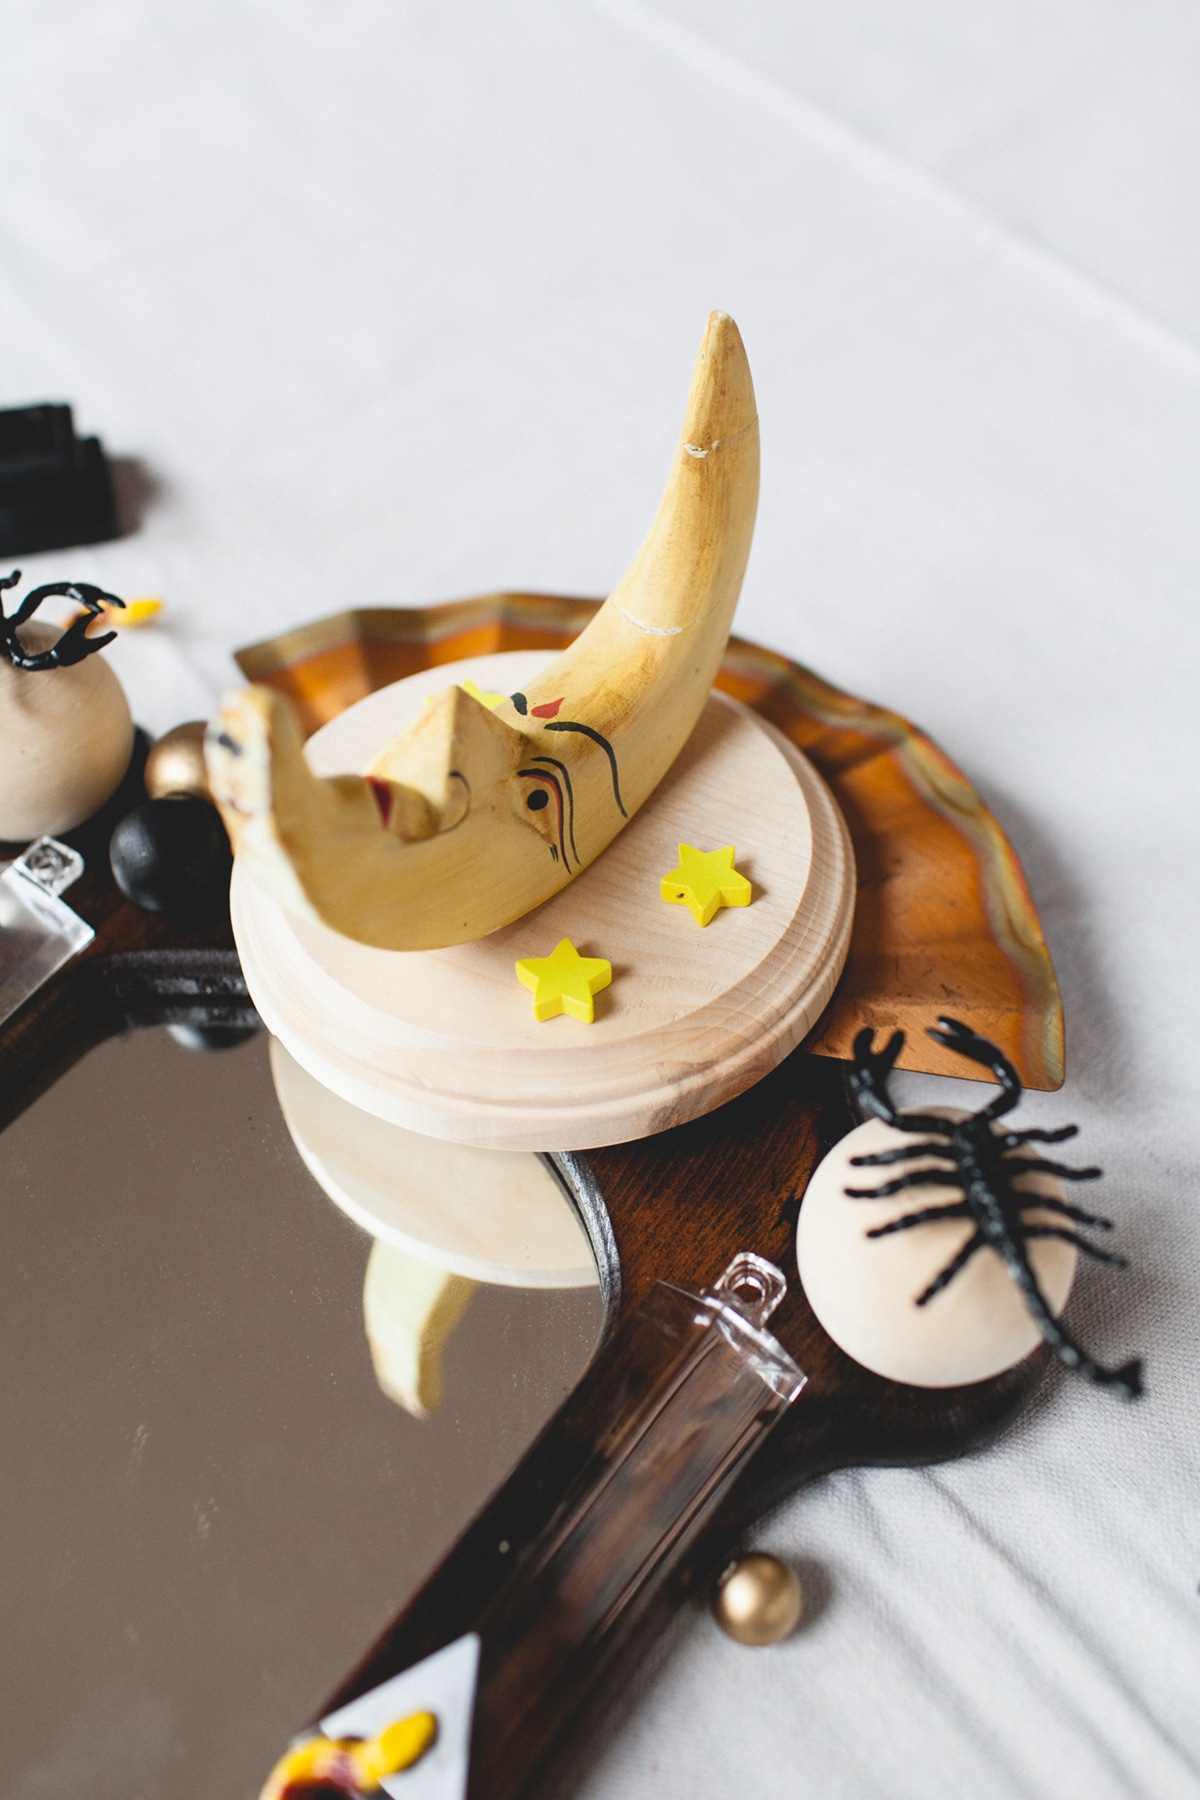
After bringing all the thrifted objects back to the studio, I quickly realized I’d need to supplement a bit. I purchased some unfinished wood balls and plaques at the craft store, along with some wood stars, rubber snakes and plastic scorpions (shout out to my Scorpio sisters!). I also hit up the local salvage stores for plastic chandelier crystals to line the edges of the mirror.
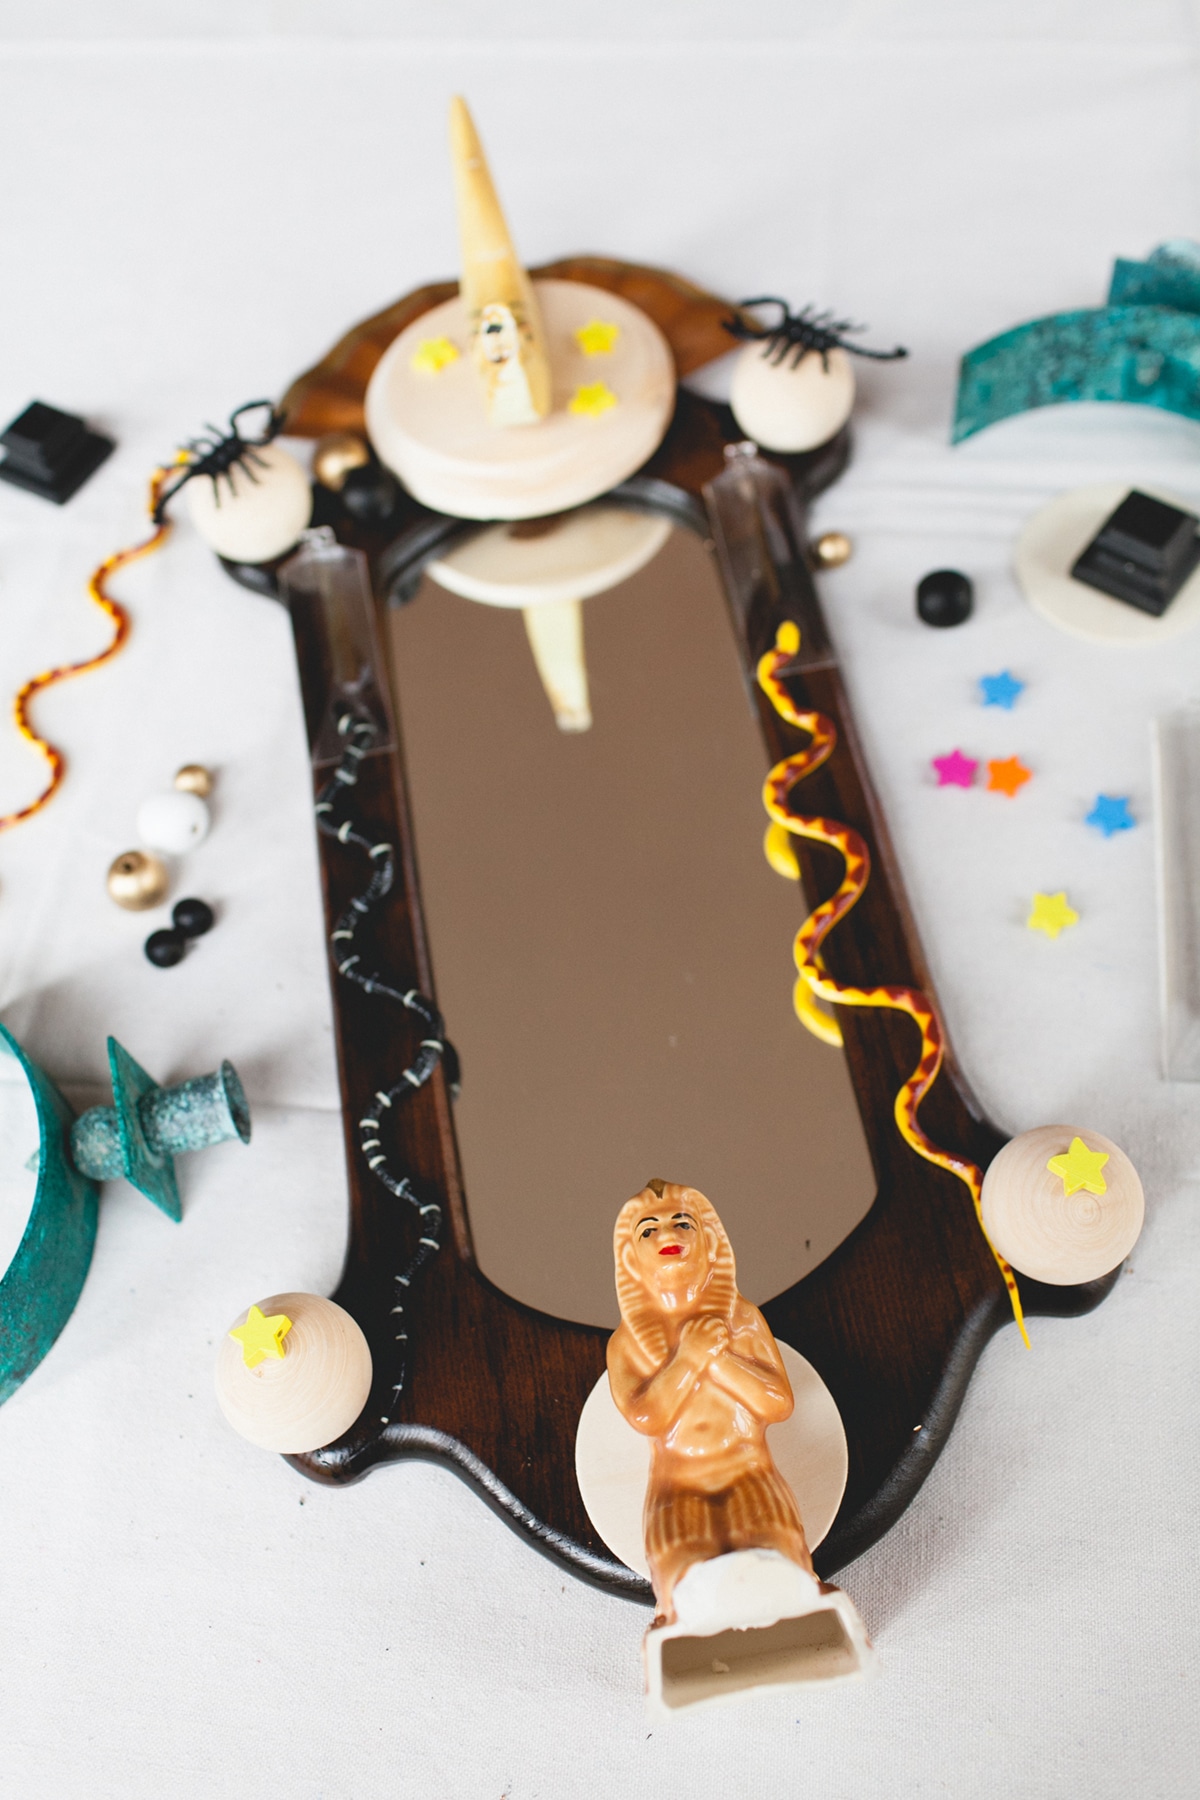
Then – we laid everything out. I liked the theme that emerged here. I don’t know what to call it exactly, except celestial badass.
Next it was time to spray. And spray. And spray some more…
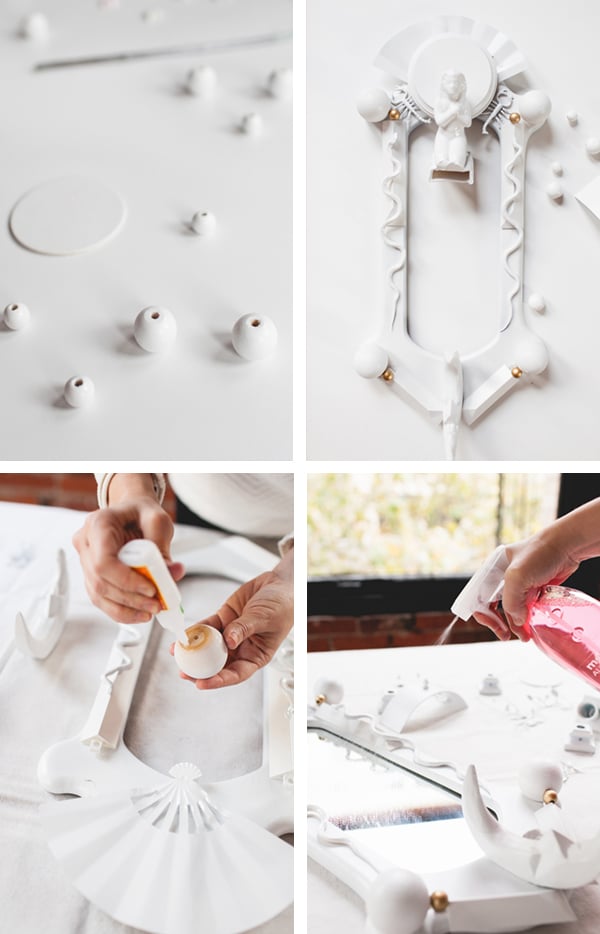
Once we had the objects (and my fingers) completely white, we laid everything back out again to see exactly where we wanted the items placed before gluing! I used a combination of hot glue (for some of the smaller or uneven objects) and gorilla glue for the heavier items.
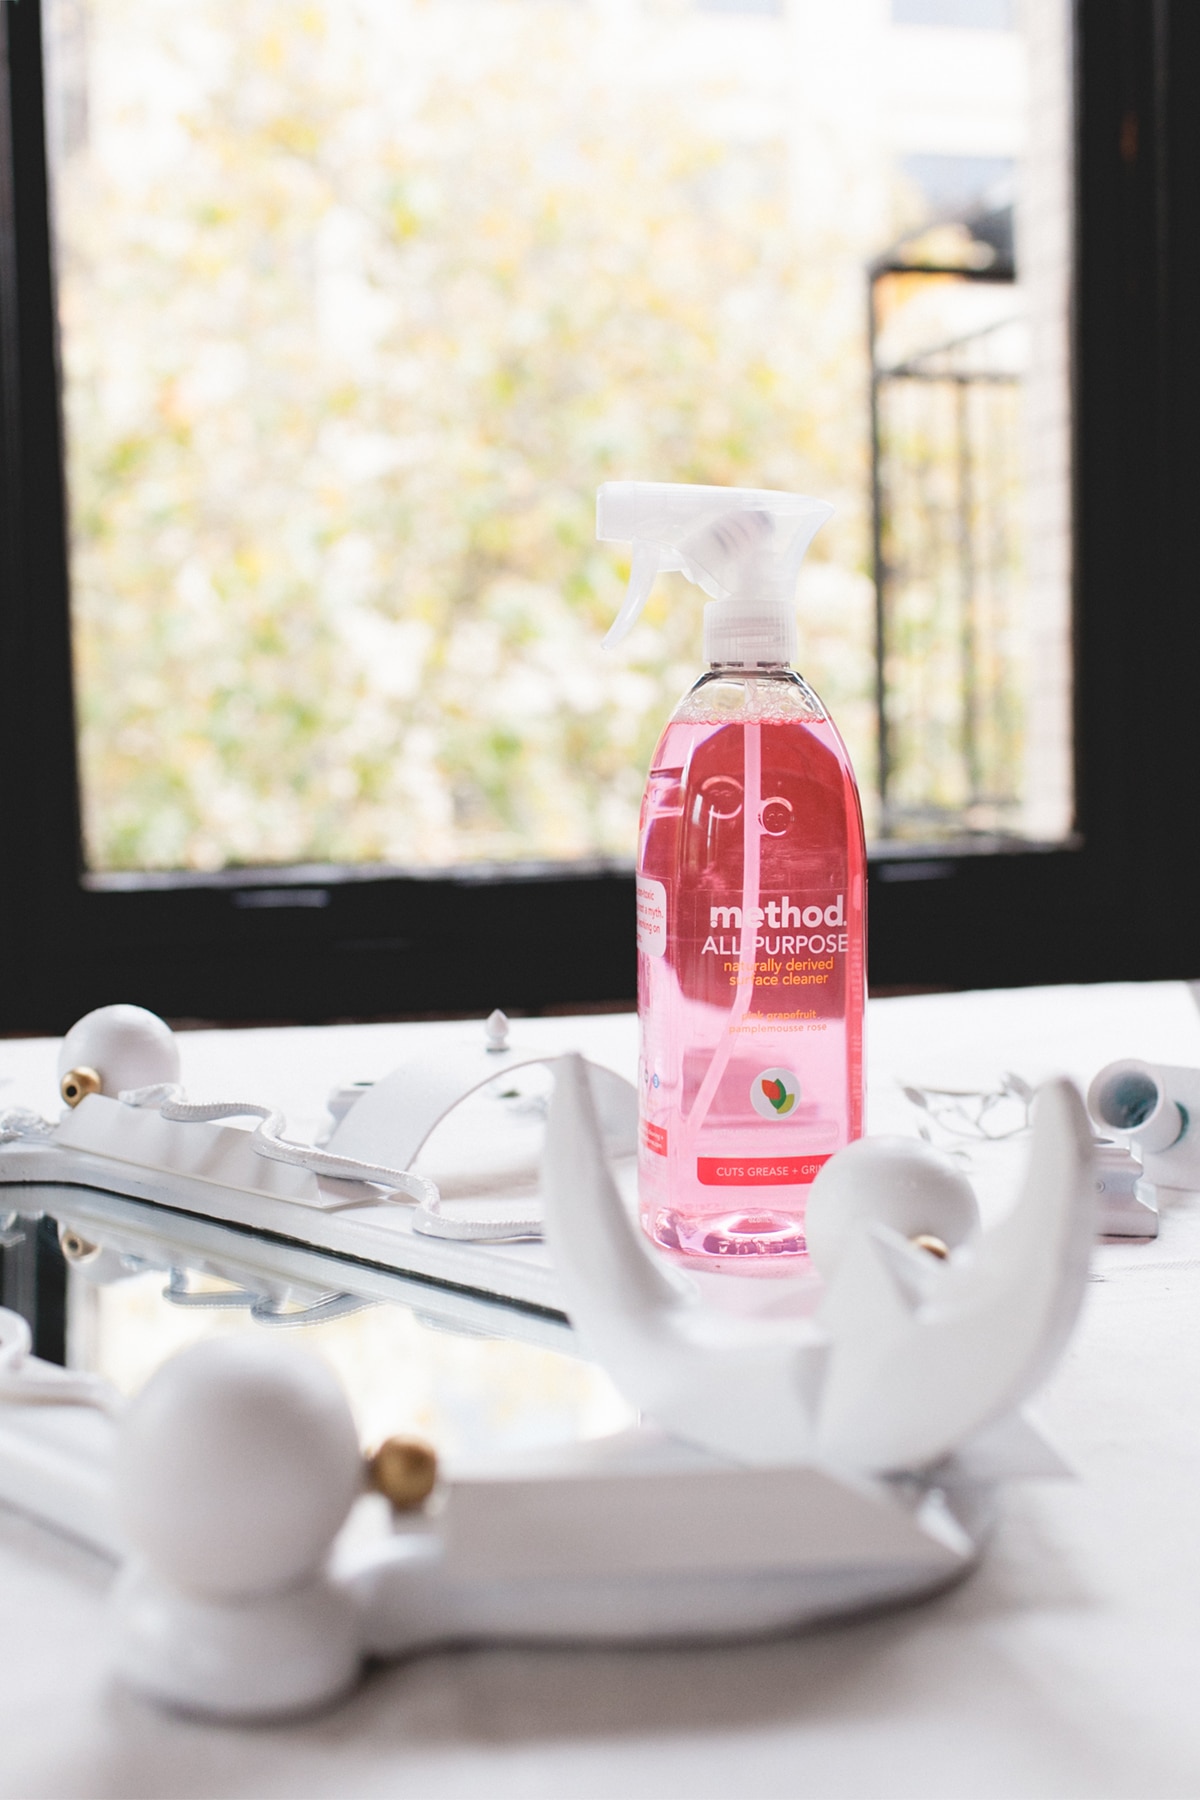
Then came the best part – putting her all back together! More spraying (of the non-toxic kind) to clean up that mirror, and my beautiful objets were ready to shine…
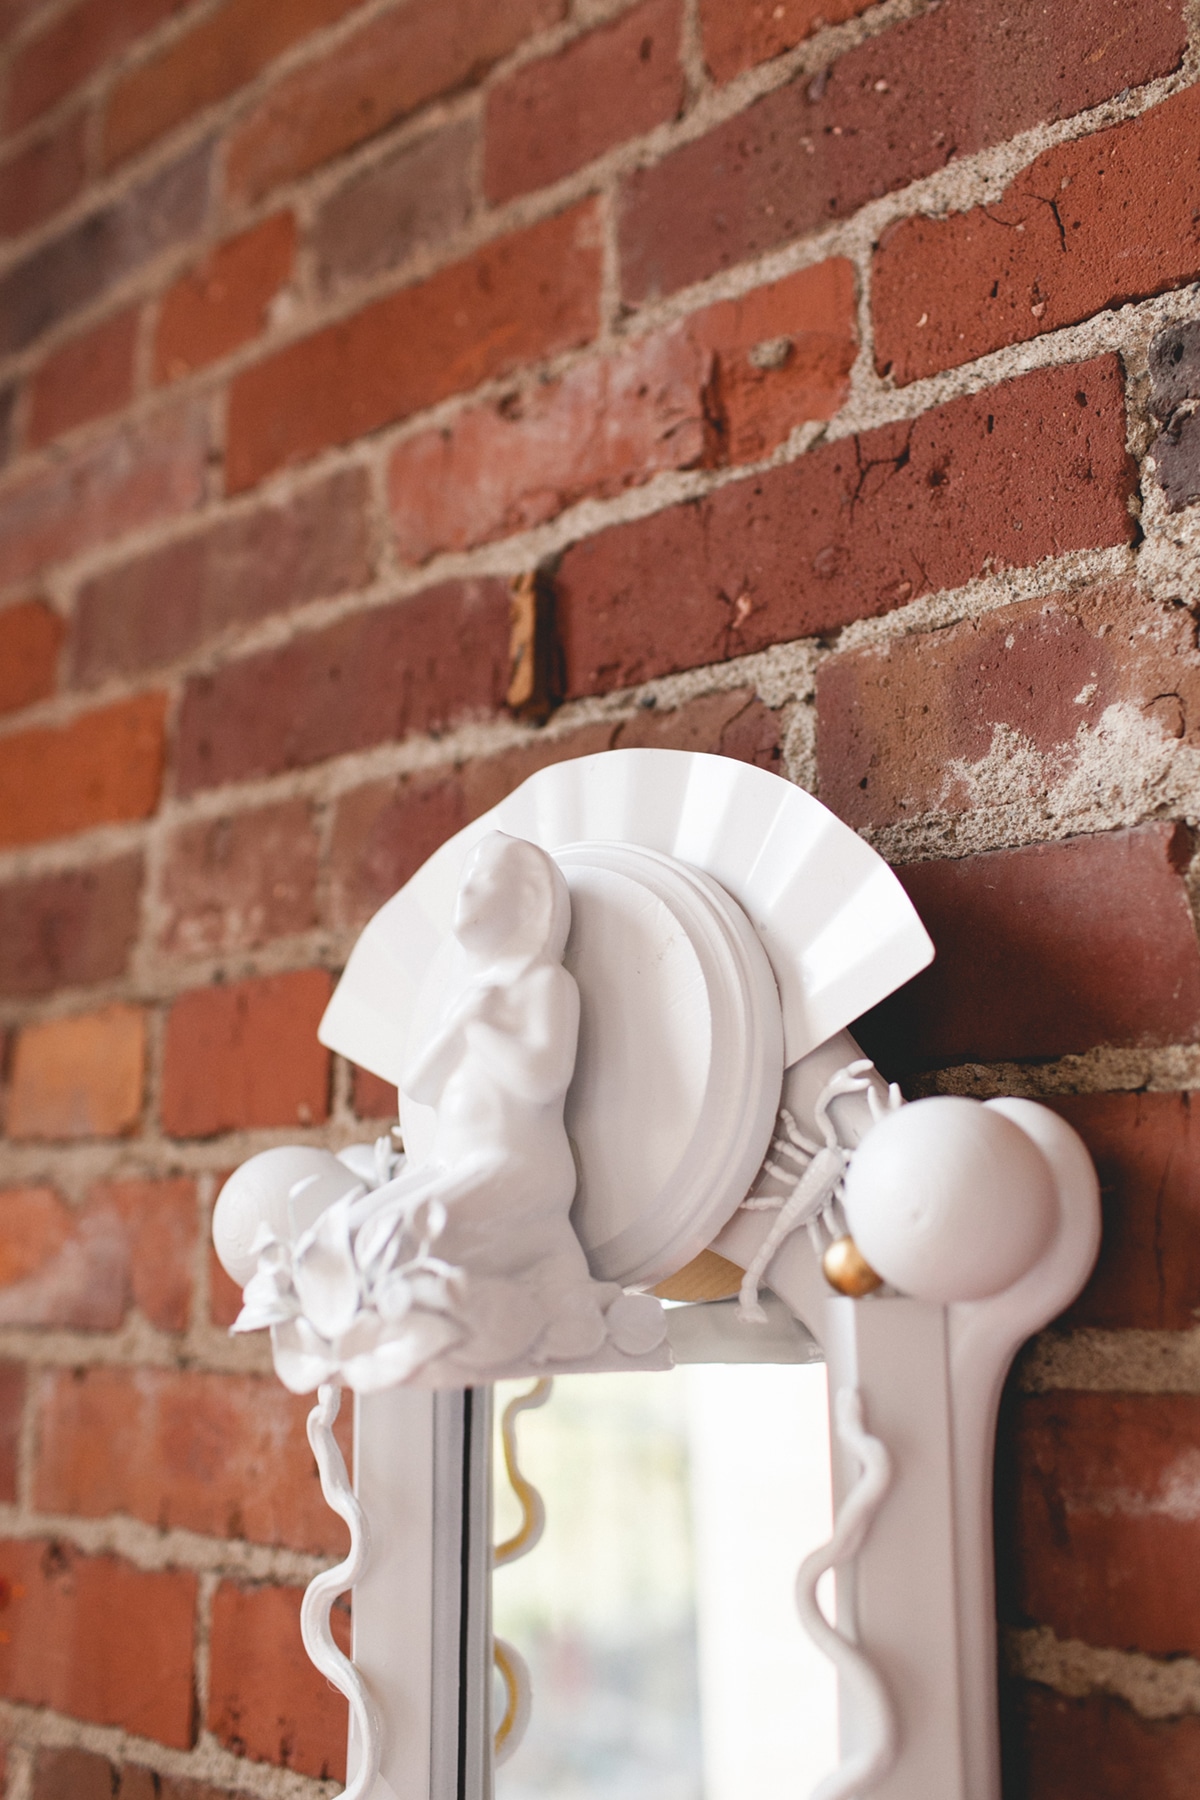
Backup a second though because I know you’re wondering what happened to my Egyptian goddess here. I straight up used the fastest drying ‘clay’ I could find to fill her in, since we were crunched for time. Then we added some spray painted plastic leaves and, voila. She was all covered up.
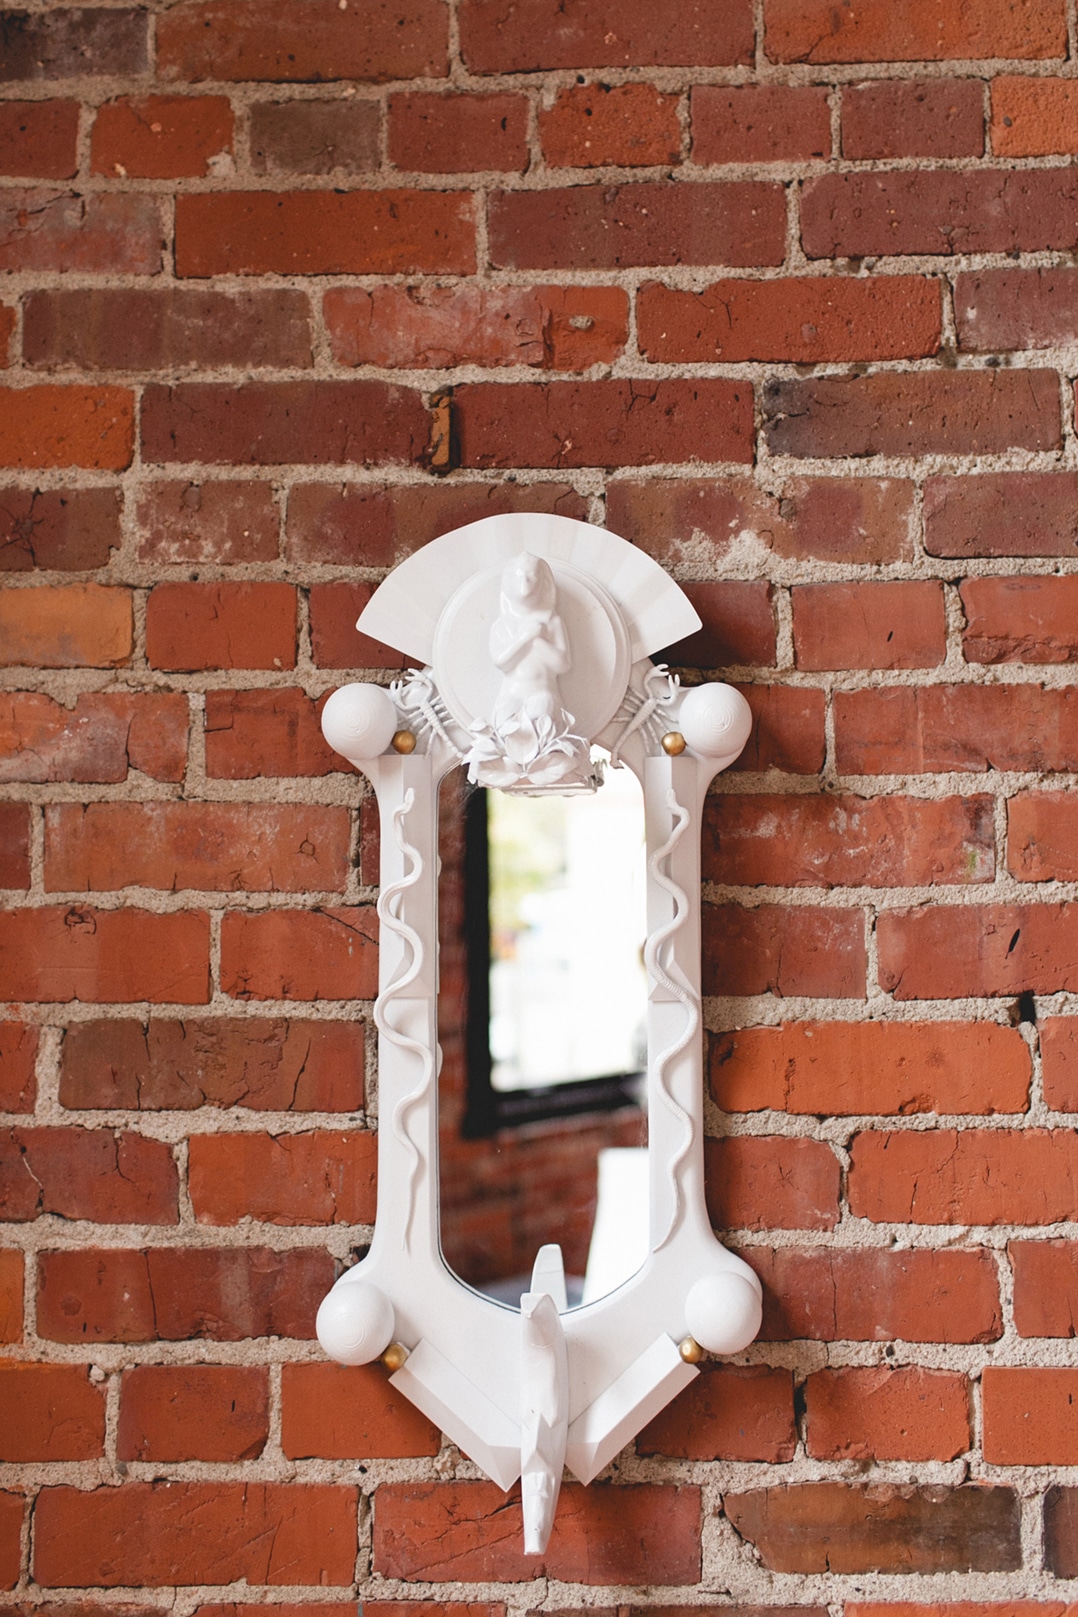
And now? I have one truly unique piece of art on display at the studio!! It may not be quite as perfectly porcelain as the beautiful pieces that Tamara makes at Codor Design (the finish on her one-of-a-kind pieces is so soft and lovely) but for now, it will do! I love how tackling projects like this bring out the creative side, and prove that the things we think might be really hard really aren’t that hard when you have fun doing it.