So many friends have been asking for a kitchen remodel update lately because surely we must be getting close right? Well… yes. And no. As with most remodels, we’re totally behind schedule. At the moment, we’re twiddling our thumbs a bit waiting for the cabinets to come in. Until then, we’re stuck doing some minor work on trims and making major decisions on tile, fabrics for the bench seats, window treatments, and – yes, still – lighting.
BUT! That’s not to say that progress hasn’t been made! Let me bring you all up to speed…
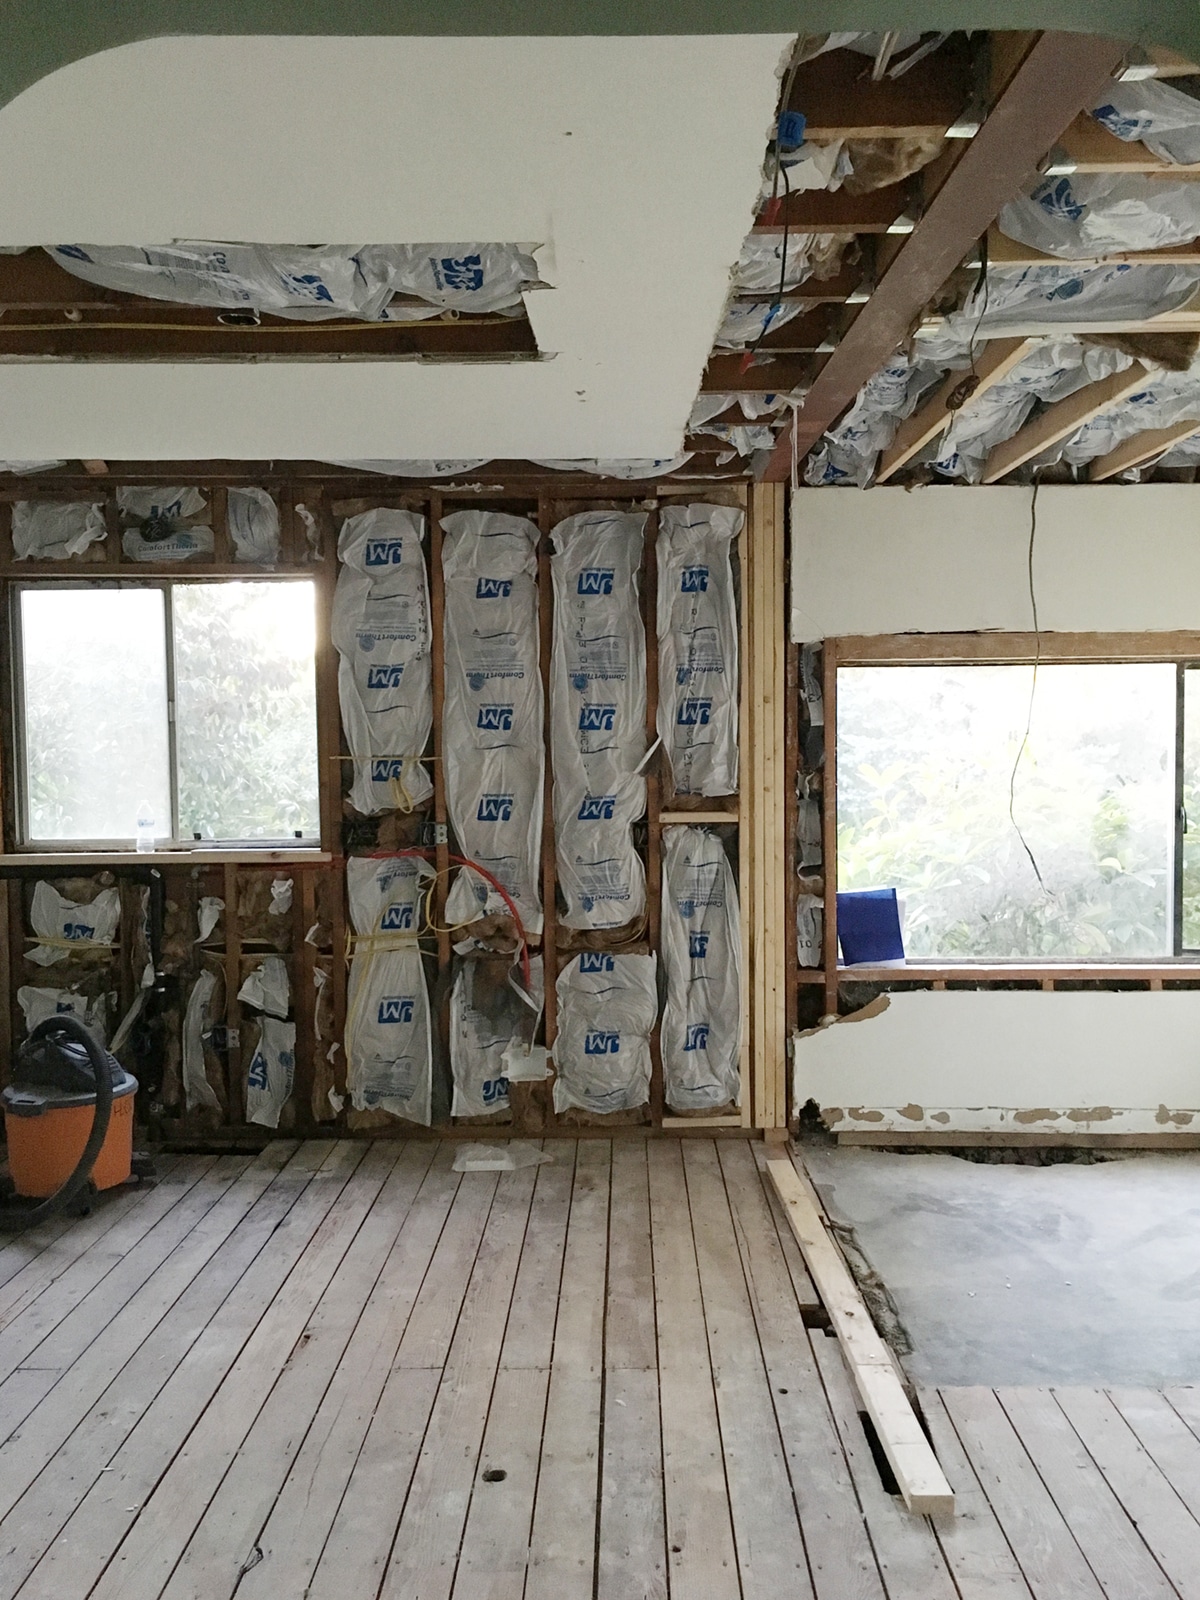
We went from this (everything torn open and out, wall removed, and beam put in) …
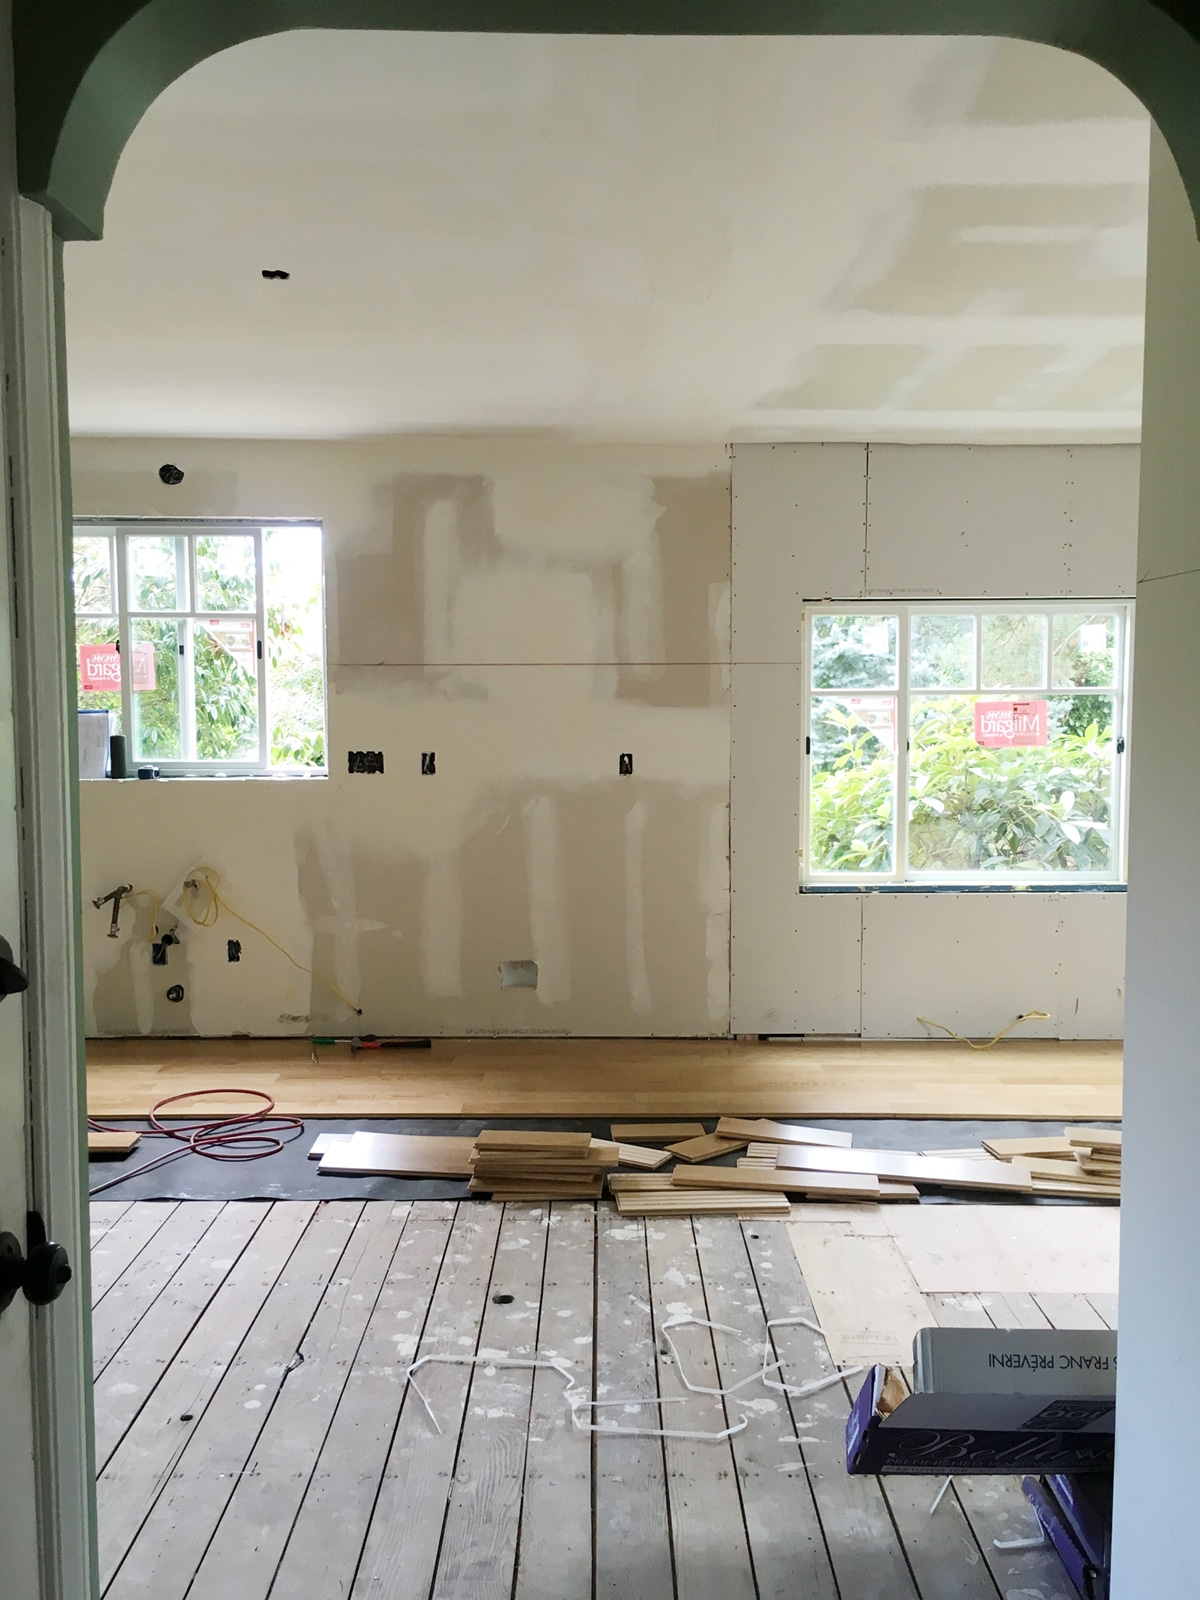
To this (walls back in, new windows, and the beginnings of our floor!)...
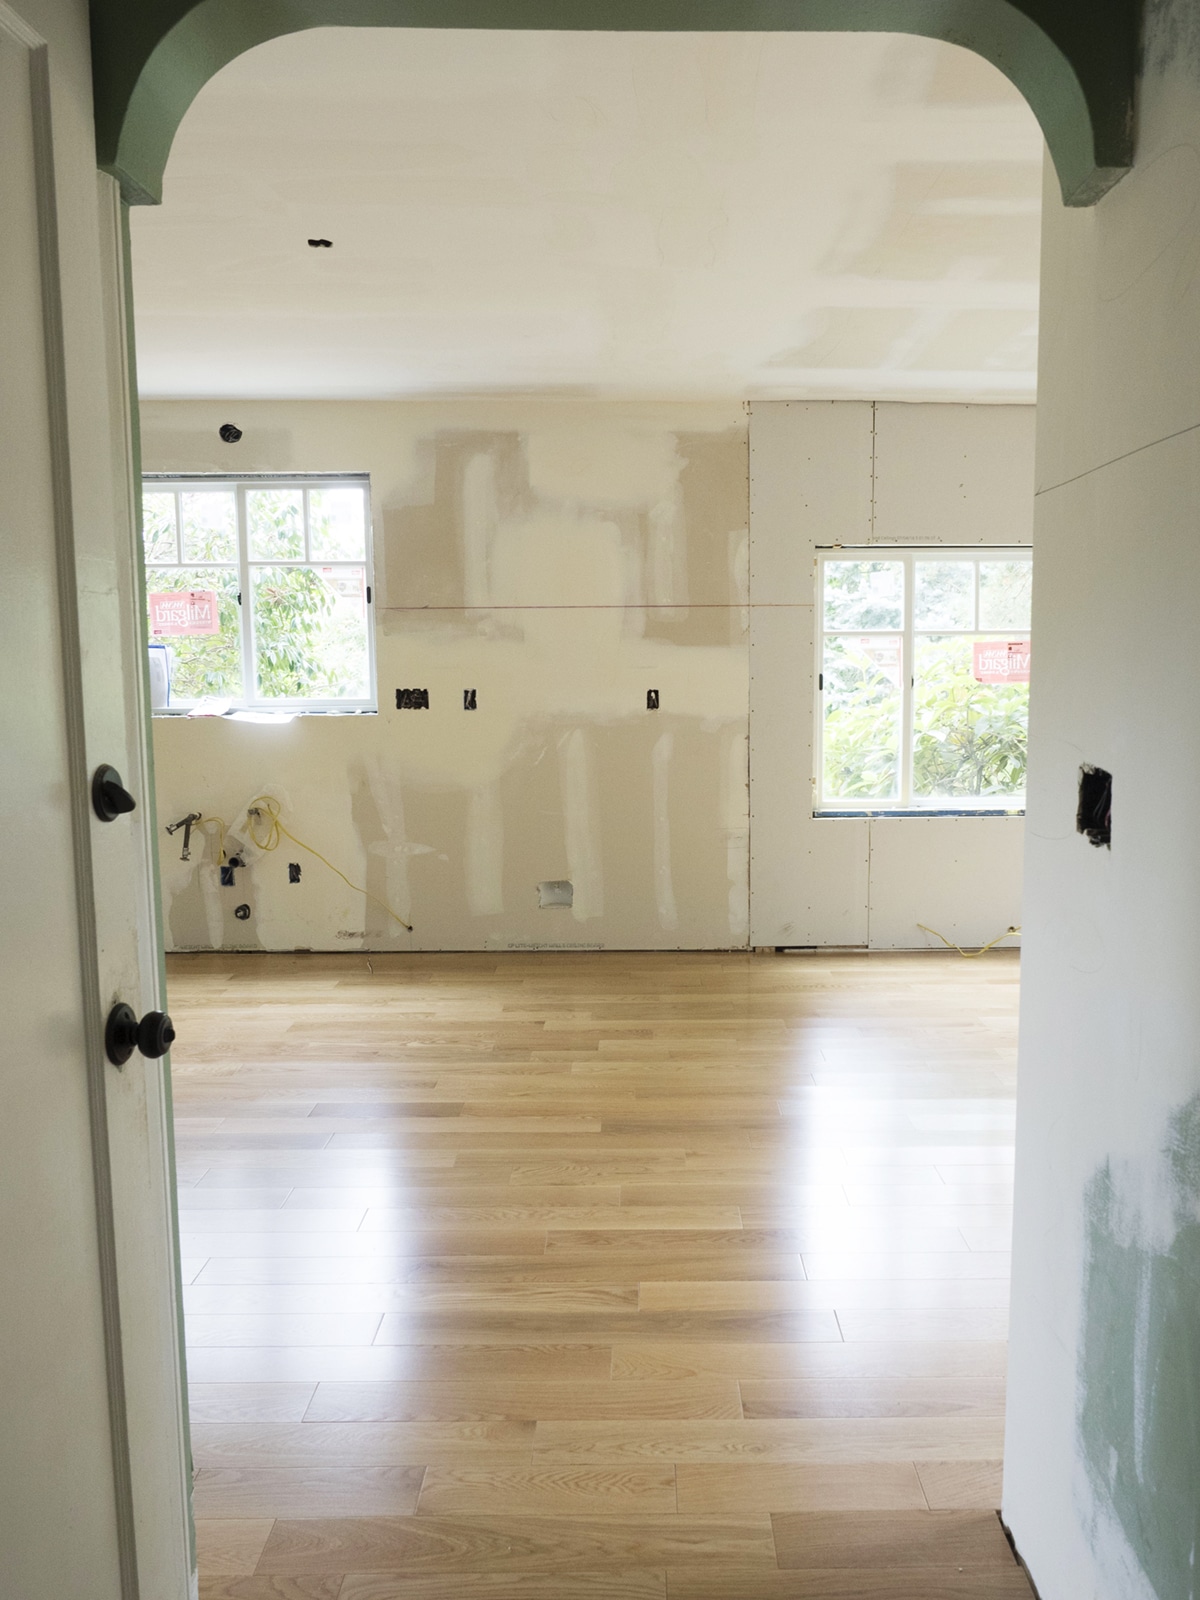
To this! And let me tell you what a huge difference it makes to have things all sealed back up. Our house felt like a total dirt and dust storm for a while there, but now that the hardwoods have been laid, I actually love walking through the space and imagining how it’s all going to look in another month… or two.
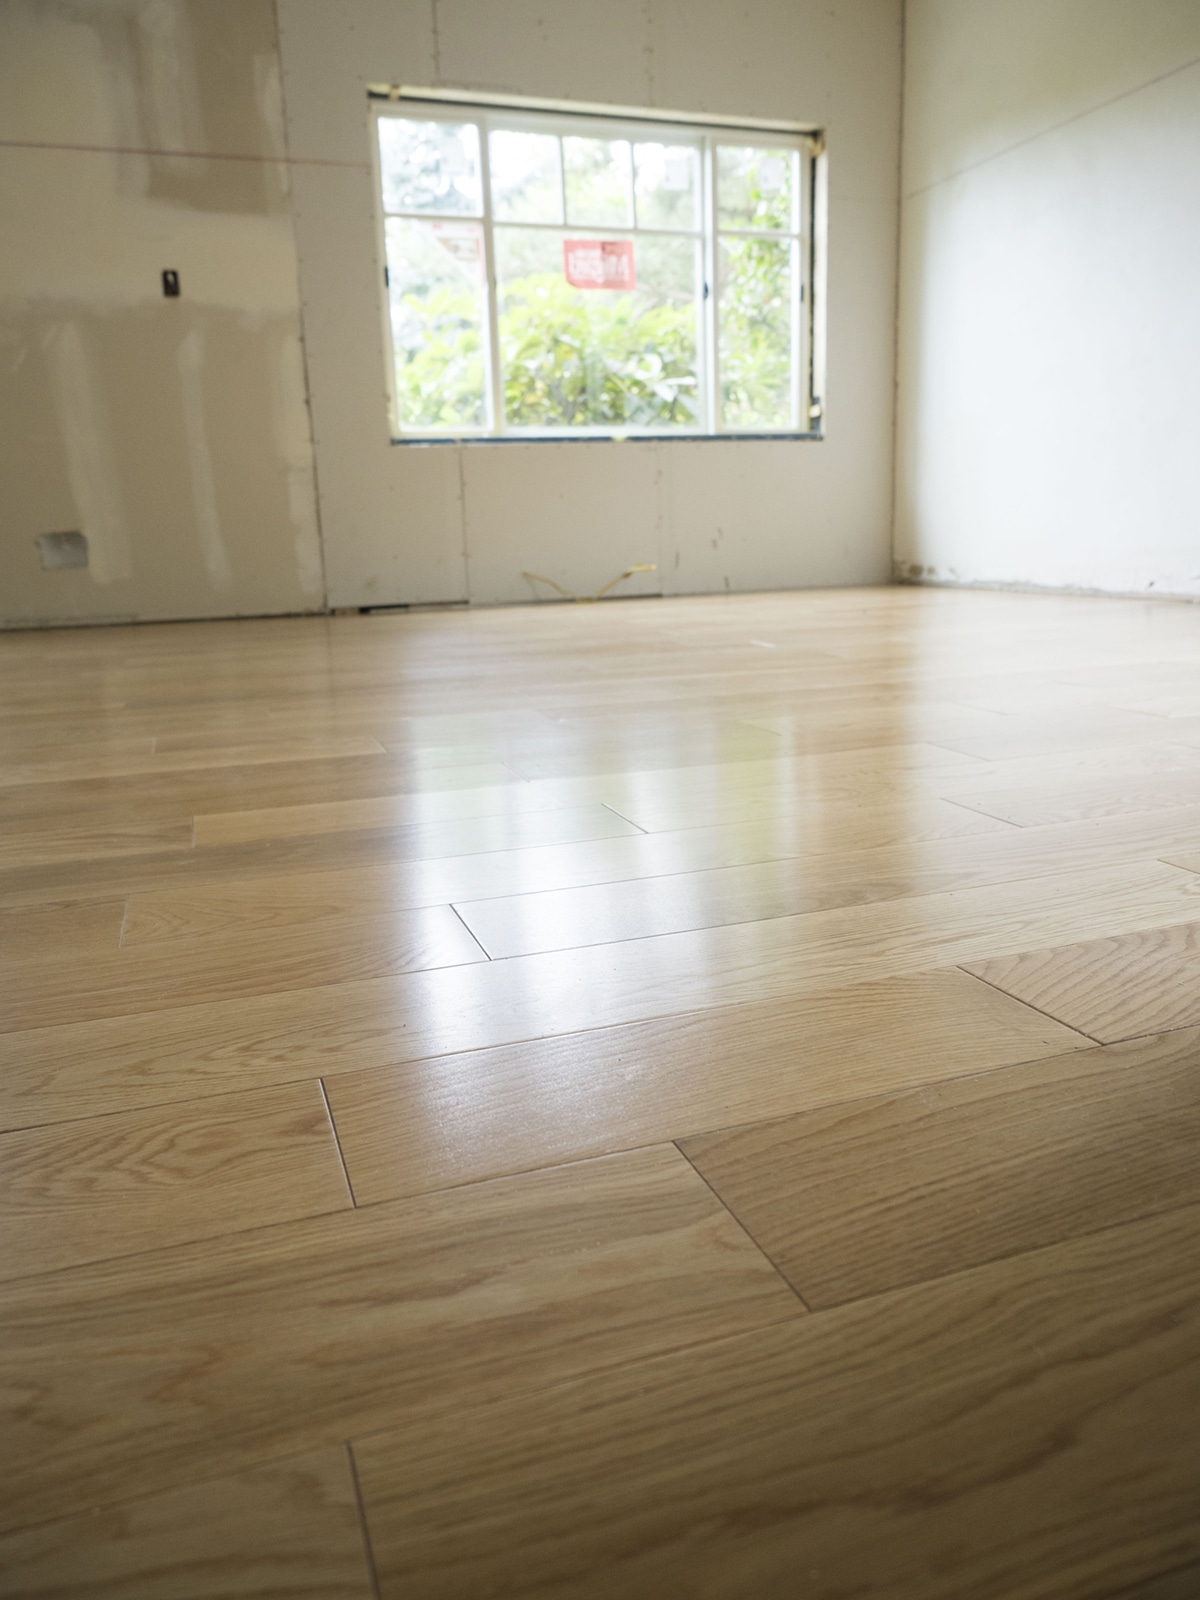
So let’s talk about these floors! First off, yes. In my dream scenario these would have been some old world unfinished oak herringbone floors. But we didn’t do that. Why? Because I have a major pet peeve about kitchens whose floors so obviously do not match the rest of the house. This goes for any remodel process – if you’re going to do all the floors, by all means, go for it! But patching just one part of the house with a totally different look really throws things off to me.
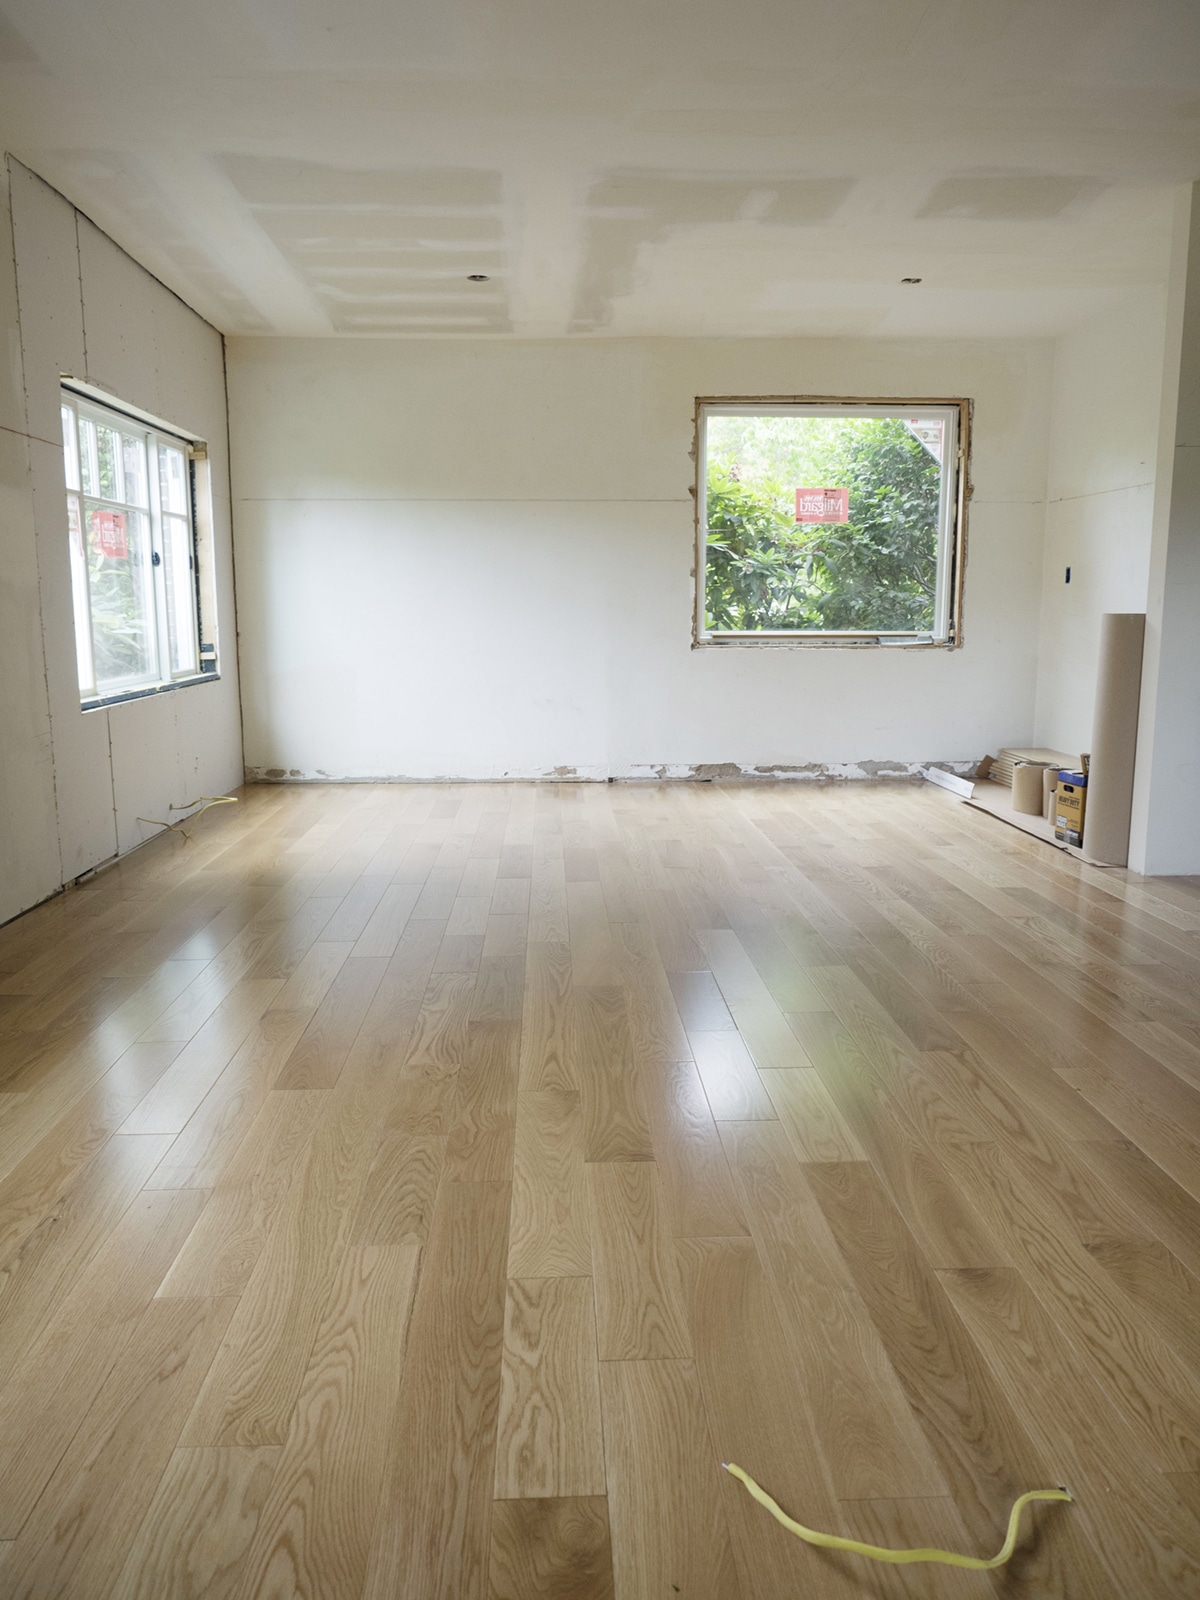
So we went with these beauties! Knowing that we wanted to keep our flooring budget pretty minimal, we turned to Lumber Liquidators where we knew we’d be able to find great pricing. After stopping into the store for samples, and talking through our needs with their sales guys, we decided that we wanted to go with real wood vs. laminate, and we wanted it to match our current floors as much as possible.
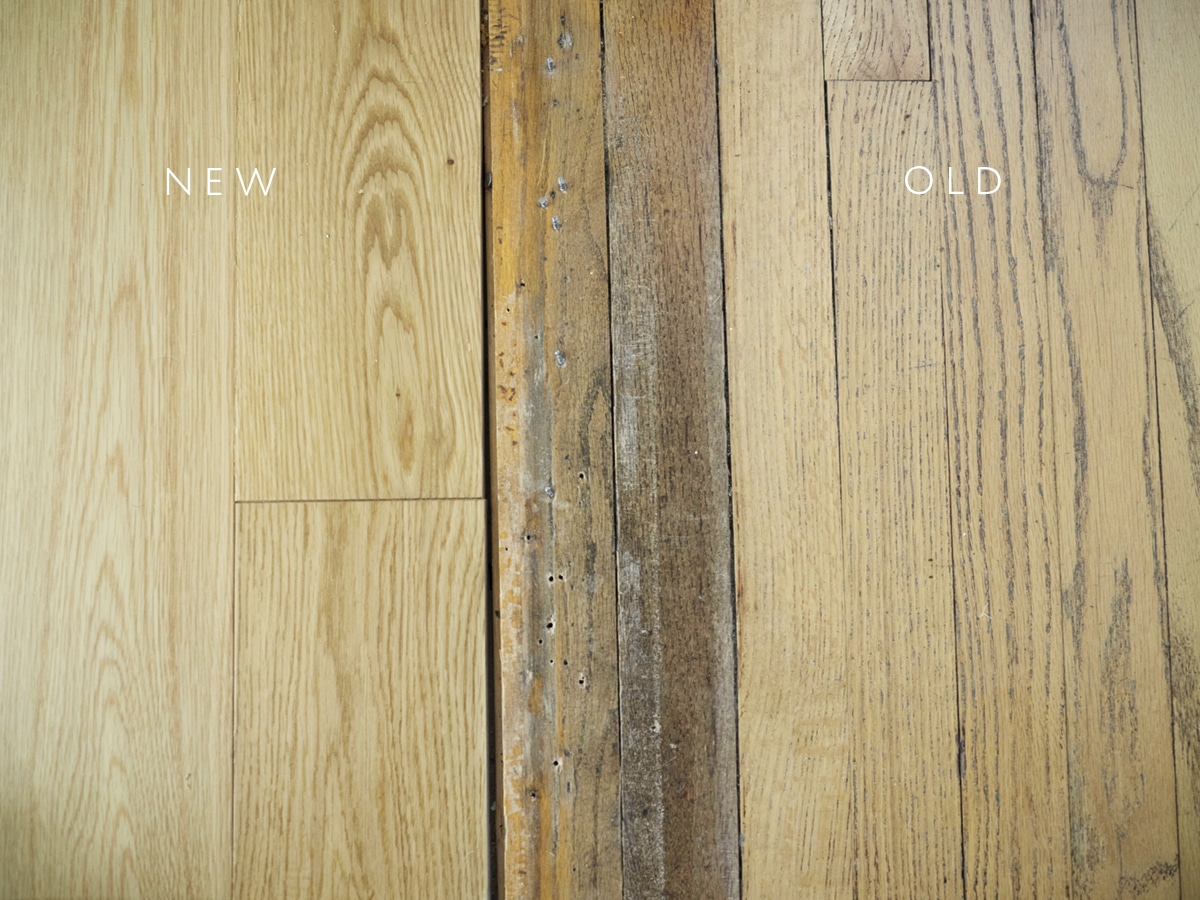
The only major difference in the floors (besides age of course) is that we went with a 5″ wide plank instead of the skinny 2″ planks that we currently have. Specifically, we chose the Bellawood Select White Oak. The ‘select’ part means that there is less variation in the wood, which was important to us and worth the upgrade!
I liked the idea of a wide plank in here to lend more of a classic farmhouse feel…
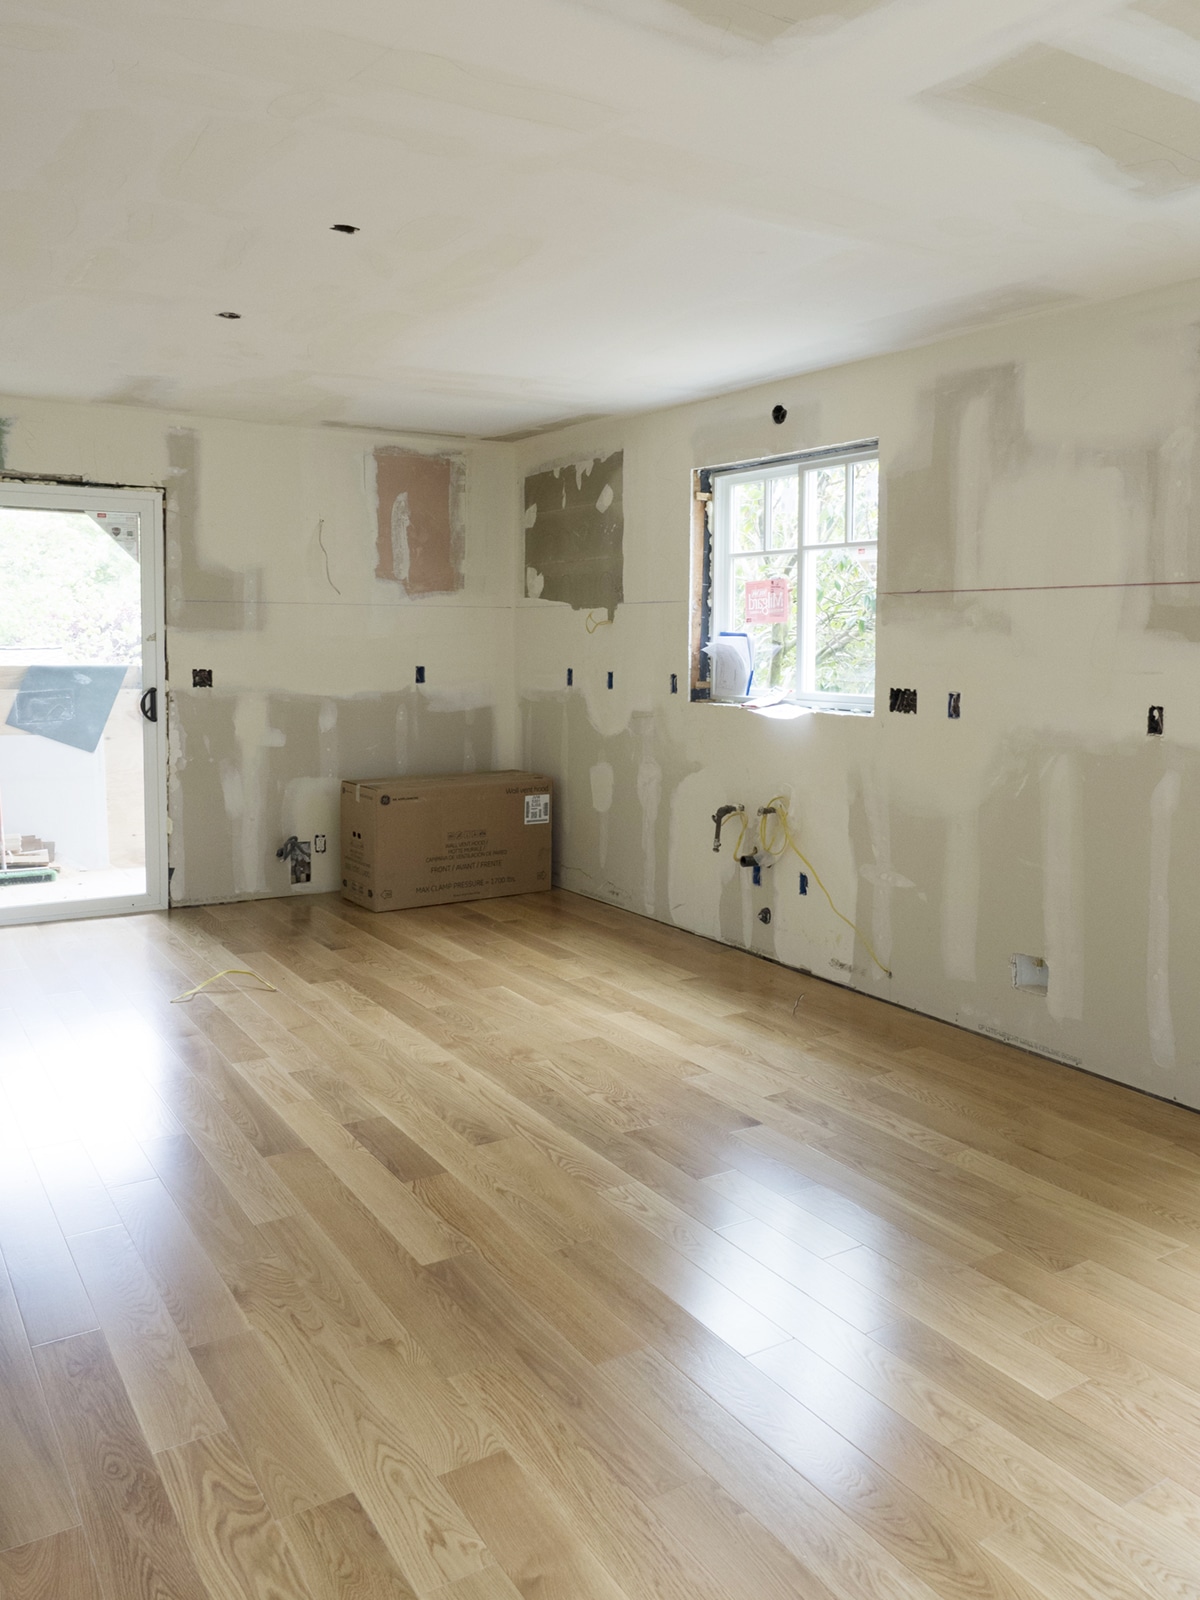

Now, I’m going to get 100% real here. I wish that I was badass enough to know how to lay my own floors. I am not. Honestly, it’s not that hard of a process, if you get the right tools, and one I hope I can learn a bit more about in the future. Unfortunately, these floors needed an expert touch. This is the original subflooring from our house, and it had a lot of variation in it, so I happily handed that process over to our contractor to manage.
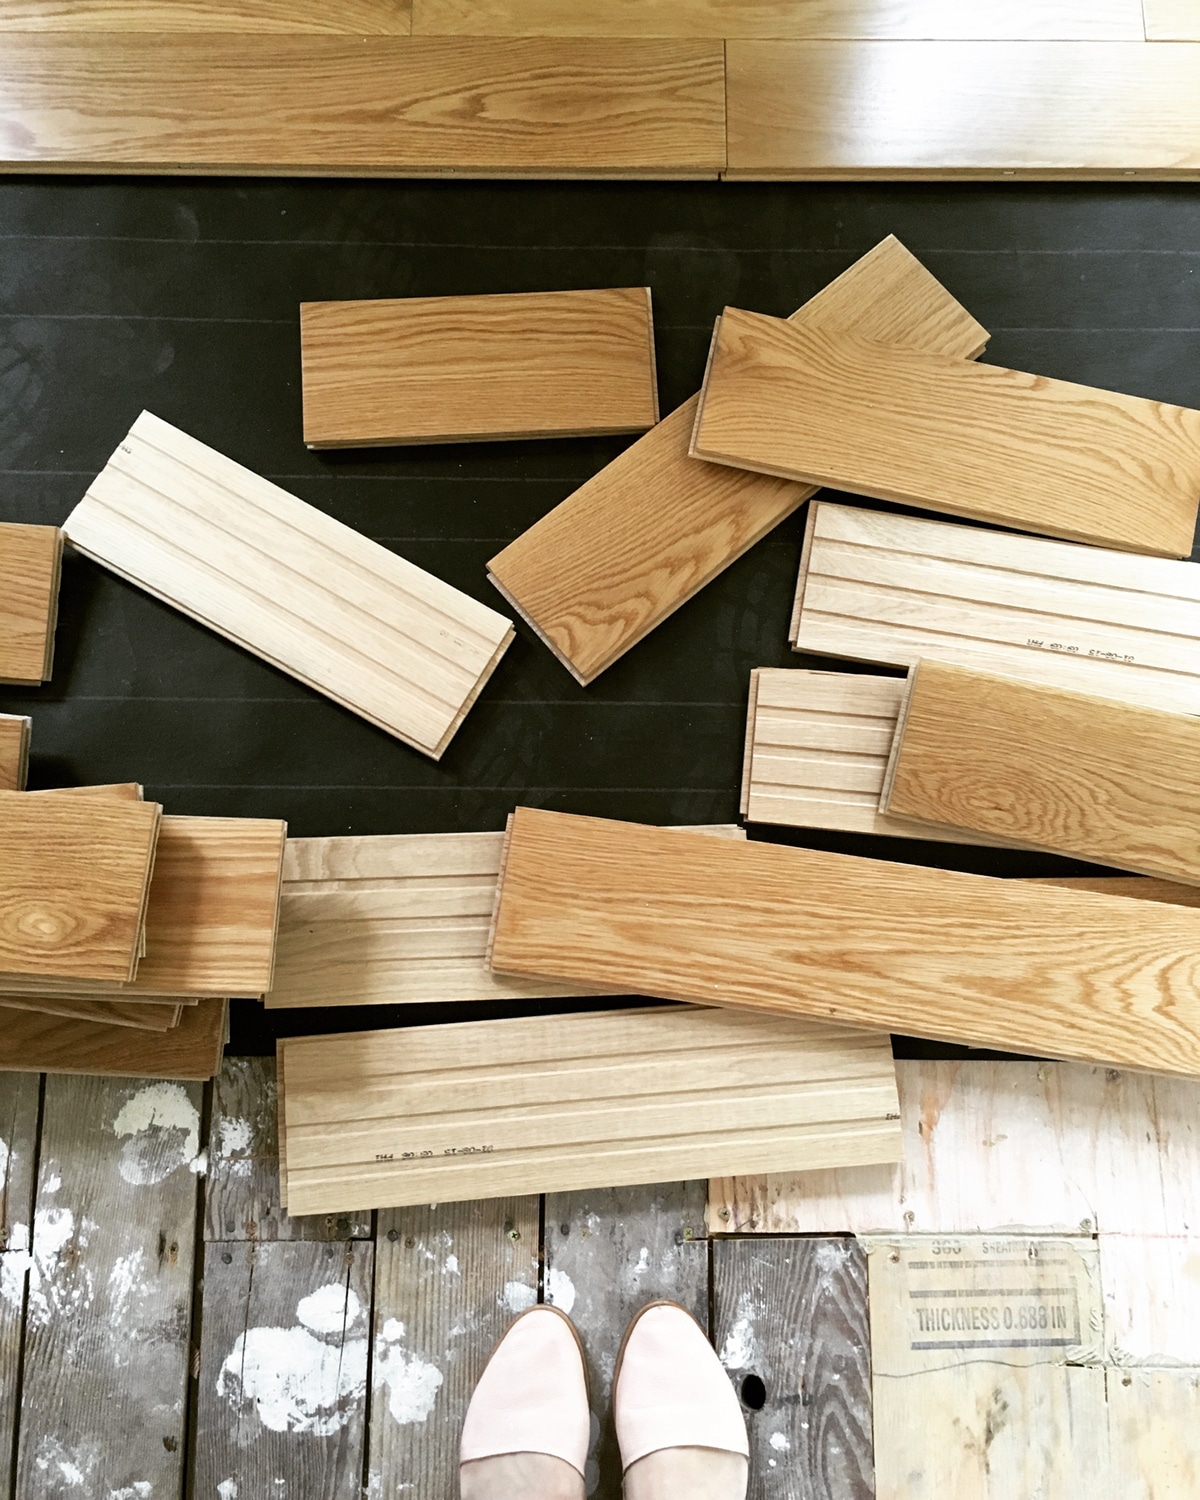
Because we didn’t want to raise the floor too much, and because the subfloor underneath was so solid, all we had to do was a little lining and the floor got laid right on top. Normally, they’d recommend padding the floors for soundproofing and other reasons, but since the room below is just basement storage, we decided to keep things minimal.
So far, I’ve been super impressed with the quality and really happy with the floors that we chose! A huge thanks to Lumber Liquidators for making this process so easy! If you guys have questions about our process so far, I’m totally happy to answer them in the comments below!