
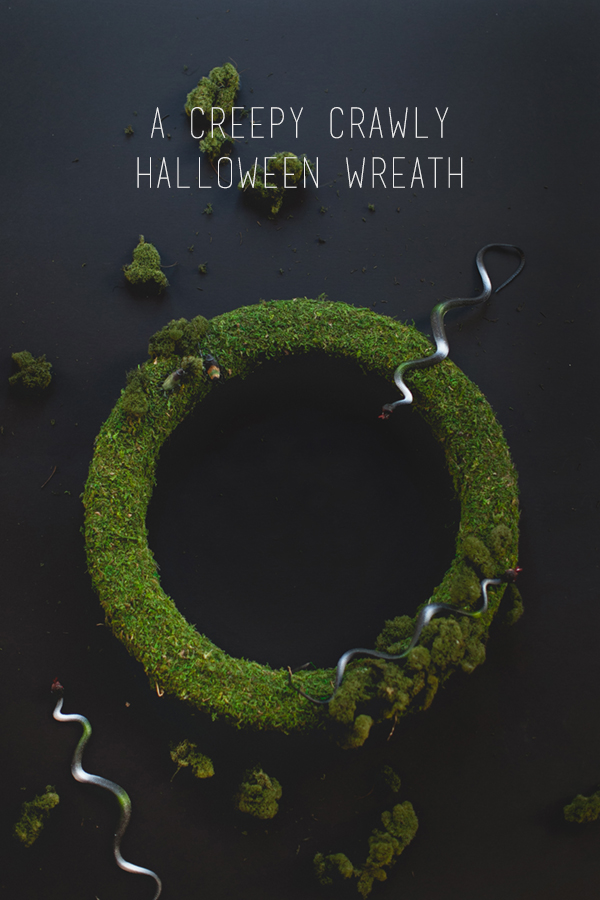
If you all haven’t figured it out yet, my favorite DIY’s are the ones that are easy, and practically foolproof. So, when we decided to put together this swampy-themed Halloween party, I decided a mossy wreath was in order, and easy enough for me to whip up on a whim!
When I say whip up, I’m not messing around. This thing probably took me about 5-10 minutes to make!
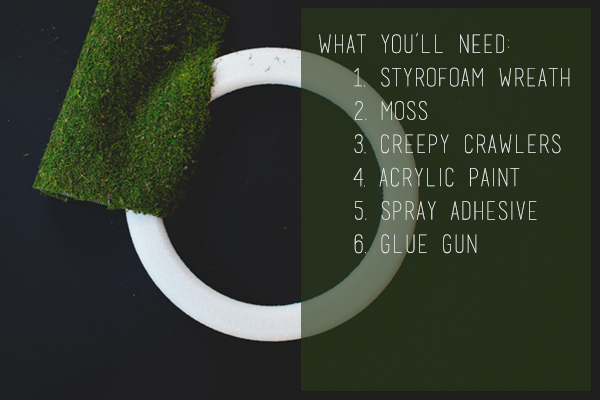
For the moss, I found some sheets at the floral supply store that make things much easier than trying to spray down loose moss. The sheets have a backing that adheres to a porous surface – like styrofoam – way better. Making this part pretty easy!
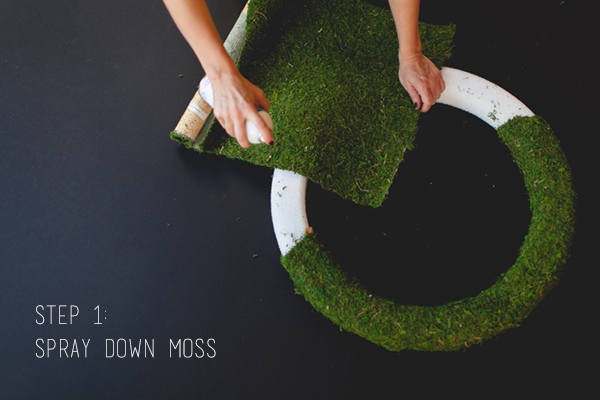
Start with one section, and plan how you’ll lay it out, cutting around the curve of the wreath as you go, and giving the moss enough of an edge to wrap around the back of the wreath. I used spray adhesive to put the moss down initially, and then a hot glue gun to secure the edges to the back.
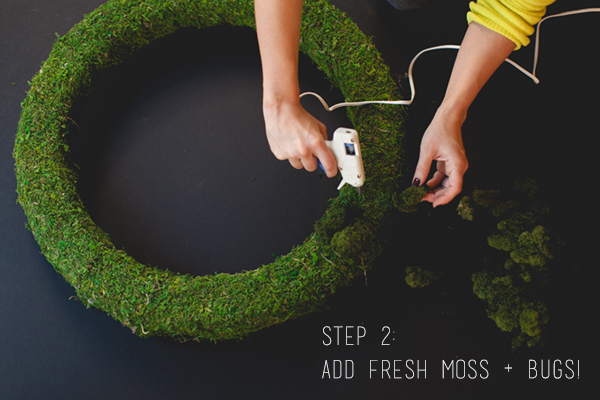
Once the wreath is totally wrapped, it’s time to add a little dimension and detail! I purchased some reindeer moss and glued it down in a couple of sections, along with the bugs and snakes!
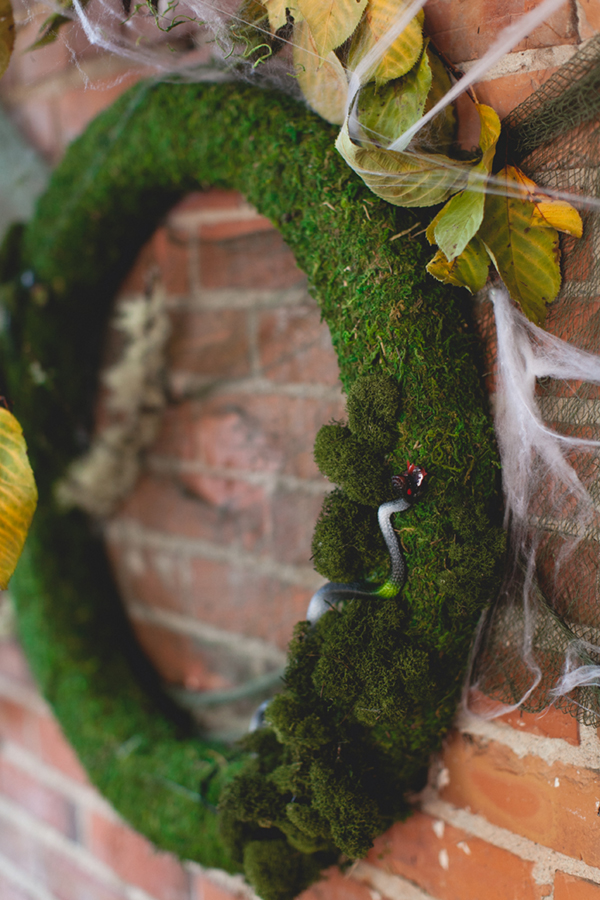
I found these larger snakes here, and used just one on the wreath, then added some cockroaches that we found at the dollar store and painted in green and gold to add details!
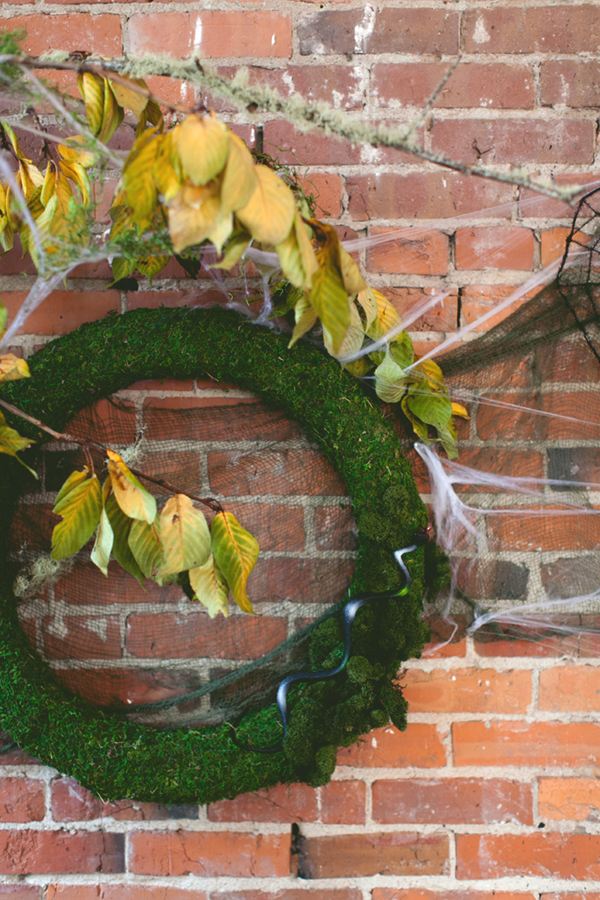
Tucked behind the party table, over some green gauze and in behind a branch filled with cobwebs, the wreath is the perfect backdrop! Of course, ours is now hanging on the front door to greet trick-or-treaters come Halloween!
photography by meghan klein